
Start medium-fine to medium-coarse (roughly the texture of table sugar to kosher salt) and adjust from there by taste and drawdown time. If your cup tastes sour or sharp, go finer. If it’s bitter or drying, go coarser. Watch your brew time: for a V60 or Kalita Wave, aim for 2:30 to 3:30; for a Chemex, 3:00 to 4:00. Grind fresh, right before you brew, and change only one variable at a time.
TL;DR:
- Achieving optimal flavor relies on maintaining a consistent grind size, focusing on texture and drawdown time rather than specific click settings across grinders.
- The ideal grind texture varies by dripper type, with cone-shaped brewers like V60 needing a finer grind and flat-bottom ones like Kalita Wave requiring a medium grind; Chemex uses a coarser grind due to its thick filter.
- Adjusting grind size in small, incremental steps based on taste and brew time helps correct under- or over-extraction, with a typical brew window around 2:30 to 4:00 minutes.
- Using a burr grinder is nearly essential for consistency, and regular cleaning plus weighing grounds improve repeatability and overall flavor control.
- Locking in water temperature, dose, and pour technique before fine-tuning grind size ensures accurate diagnosis of brewing issues, while freshness and proper grind are equally vital for the best results.
Table of Contents
- Why Pour Over Grind Size Controls Flavor
- Starting Grind Settings for V60, Kalita Wave, and Chemex
- How to Dial In and Fix a Bad Cup, Step by Step
- Your Grinder Matters More Than You Think
- A Repeatable Recipe That Isolates Grind as the Variable
- Why We Treat Grind and Freshness as One Problem
- Beans That Pair Well With a Pour Over Dial-In Routine
- Sources
- FAQ
Why Pour Over Grind Size Controls Flavor
Grind size determines how much surface area water can touch, and that surface area decides how fast flavor comes out of the coffee. A finer grind exposes more surface per gram, so extraction happens faster. A coarser grind exposes less, so extraction slows down. That’s the entire mechanism behind every dial-in adjustment you’ll ever make.
But grind size isn’t just about the average particle. It’s about distribution. A grind full of tiny “fines” mixed with oversized “boulders” creates two extraction rates happening in the same slurry. The fines over-extract and turn bitter fast. The boulders under-extract and stay sour and thin. You end up with a cup that’s somehow both bitter and weak, which is exactly the kind of muddled result that sends people down a rabbit hole of buying random gear instead of fixing the one thing that actually matters.
This is why grind uniformity, not just grind fineness, separates a clean cup from a confusing one. Particle distribution controls extraction by changing both surface area and how easily water moves through the coffee bed, called permeability. Too many fines and water struggles to pass through evenly. Too many boulders and water rushes past without picking up enough flavor.
Brew time is your best free diagnostic tool here. Most pour-over recipes fall into a 2:30 to 4:00 drawdown window depending on the brewer, and when your time falls way outside that range, grind size is almost always the reason.
A few ground rules to lock in before you touch the grinder:
- Change grind size or dose, not both, between test brews.
- Keep water temperature and pour technique constant while you’re isolating grind.
- Log what setting you used and what time you got, even if it’s just a note on your phone.
- Taste before you judge by time alone. Time tells you what happened; taste tells you what to fix.
Pro Tip: If your drawdown time looks perfect but the cup still tastes off, check your water temperature and coffee freshness before you touch the grinder again. Grind size gets blamed for a lot of problems it didn’t cause.
Starting Grind Settings for V60, Kalita Wave, and Chemex
The dripper you’re using changes the ideal starting point more than almost any other variable. Cone-shaped drippers with a single large hole, like the V60, drain fast, so they generally want a finer grind to slow extraction down to a reasonable pace. Flat-bottom drippers with multiple small holes, like the Kalita Wave, drain more evenly on their own, so a medium grind usually works. Chemex uses a noticeably thicker filter that removes more fines and oils as water passes through, and that thicker paper is exactly why Chemex recipes call for a coarser grind. Without it, drawdown crawls to a stop and the cup turns bitter and muddy.
| Brewer | Texture reference | Target drawdown |
|---|---|---|
| V60 | Table sugar to fine sand | 2:30 to 3:30 |
| Kalita Wave | Table salt to beach sand | 2:45 to 3:30 |
| Chemex | Kosher salt to coarse sand | 3:00 to 4:00 |
These texture references matter more than any specific “number of clicks” on your grinder, because click values aren’t standardized across brands. A setting of “12” on one grinder might sit in the medium-coarse range, while “12” on a different model lands squarely in espresso territory. Treat the texture and the drawdown time as your real targets, and treat the click number as a personal reference you’re building for your own machine.
A few practical notes on top of the table:
- Most pour-over guides put the workable starting zone between medium-fine and medium-coarse, with the exact spot inside that range set by dripper and filter.
- If you’re switching brewers, don’t assume last week’s V60 setting will work on a Chemex. Start over at the coarser reference point.
- Filter thickness isn’t just about flow speed. A thicker filter also pulls more fine particles and oils out of the final cup, which changes body and clarity independent of grind.
- Write down the texture and time that worked for your specific dripper once you find it. That log becomes your fastest starting point next time.
How to Dial In and Fix a Bad Cup, Step by Step
Dialing in grind size for optimal flavor works best as a loop, not a guessing game. Here’s the protocol:
- Pick one recipe and stick with it. Same dose, same ratio, same water temperature for every test brew until grind is locked in.
- Brew and time the drawdown. Note the total time from first pour to when the water fully drains.
- Taste before you touch anything. Sour and thin usually means under-extracted. Bitter and drying usually means over-extracted.
- Adjust one step in the right direction. Move one or two clicks finer for sour, one or two clicks coarser for bitter, then rebrew with everything else held constant.
- Retest and compare against your target window. For most V60 and Kalita Wave brews, that’s 2:30 to 3:30. For Chemex, 3:00 to 4:00.
The decision matrix here is simple and it’s the same one baristas lean on constantly: sour points to under-extraction and calls for a finer grind; bitter points to over-extraction and calls for a coarser grind; weak or watery usually means you need more coffee before you touch the grind setting at all.
If your brew stalls out and water just sits on top of the bed refusing to drain, that’s almost always too fine a grind for that particular filter and dripper combination, though a clogged filter or stale, degassed coffee can cause the same symptom. Rule those out first: check that you’re using a fresh filter, confirm your coffee was roasted recently, and make sure your kettle is actually hitting your target temperature before you assume the grinder is the problem.
Common mistakes that stall a dial-in session:
- Changing grind and dose in the same test, so you can’t tell which one caused the shift.
- Chasing a “perfect” click number instead of tasting the actual result.
- Judging a brew off one bad cup instead of confirming the pattern across two or three.
- Ignoring bean freshness and blaming grind size for a stale-coffee problem.
Pro Tip: Keep a simple log with three columns: grind setting, drawdown time, and taste note. After five or six brews, you’ll see the pattern faster than any chart could show you.
Your Grinder Matters More Than You Think
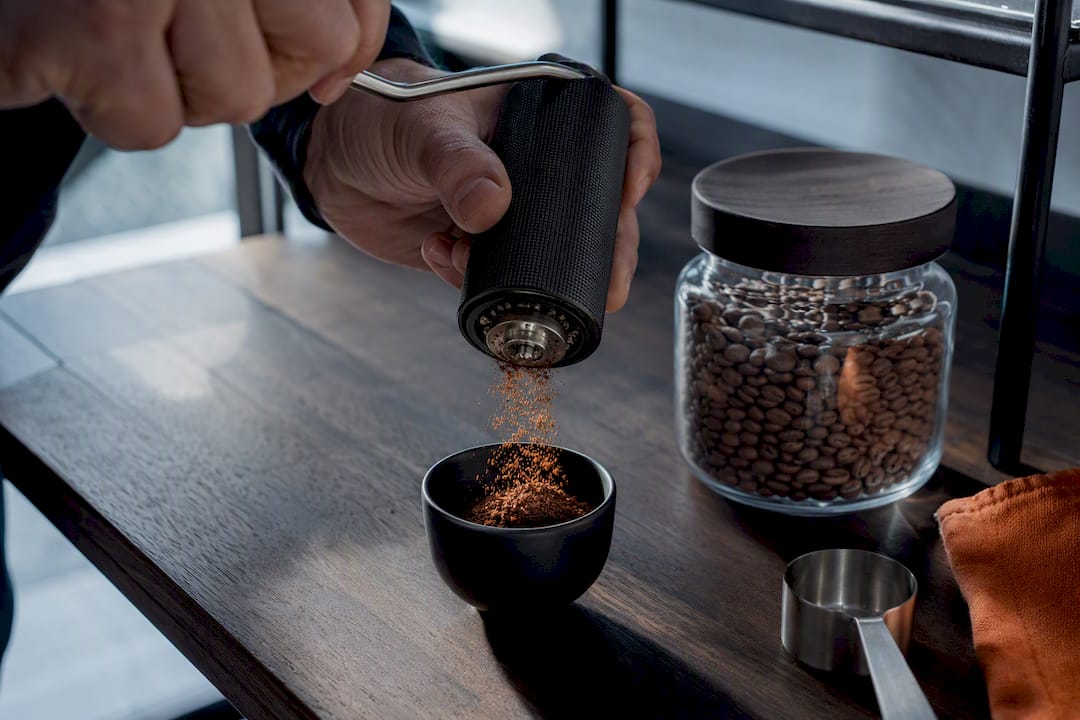
A burr grinder isn’t a luxury upgrade for pour-over. It’s close to a requirement. Burr grinders produce far more consistent particle sizes than blade grinders, which chop coffee unevenly and leave you with a mix of dust and chunks no matter how carefully you time the pulses. That uneven mix is the fines-and-boulders problem from earlier, baked directly into the grind before you even add water.
Retention and static cause their own headaches. Some grounds cling to the burr chamber or cling to each other from static charge, which throws off your dose and can carry old, stale grounds into your fresh batch. A few fixes that actually help:
- Run a small flush dose of beans through before your real dose, especially after switching roasts.
- Weigh your dose on a scale rather than trusting a scoop, since retention makes volume measurements unreliable.
- A few drops of water on the beans before grinding cuts static significantly for home grinders.
- Dose downward into your dripper’s filter rather than dumping from a height, which reduces clumping.
Maintenance matters just as much as the initial purchase. Clean burrs on a regular cadence, since built-up oil residue changes grind consistency over time and can turn your medium-fine setting into something noticeably coarser without you touching the dial. Logging your settings alongside your results, the way we outlined in the dialing-in process, turns grind selection from guesswork into a repeatable habit you can trust across different bags of coffee.
A Repeatable Recipe That Isolates Grind as the Variable
You can’t dial in grind size if your ratio, temperature, or pour technique keeps drifting between brews. Lock everything else down first:
- Dose: 20 grams of coffee to 320 grams of water, a 1:16 ratio that works as a solid baseline for most pour-over drippers.
- Water temperature: 200°F to 205°F, just off a full boil.
- Bloom: Pour 40 to 60 grams of water first, let it sit 30 to 45 seconds to let gases escape evenly.
- Main pour: Add the remaining water in two or three slow, steady pours, keeping the bed saturated without flooding it.
- Drawdown check: Time from the start of the bloom to the last drop clearing the filter, and compare it against your brewer’s target window.
Once this recipe stays fixed, drawdown time and taste become reliable signals of grind size alone, not a tangle of variables fighting each other. That’s the whole point of isolating one thing at a time.
Freshness has a bigger effect on this than most people expect. The 15-15-15 rule suggests using roasted coffee within about 15 days of the roast date and grinding no more than 15 minutes before you brew. Coffee that sits ground for hours loses aromatic compounds fast, and stale grounds can mimic the exact symptoms of a bad grind setting: flat, muted, sometimes sour flavor with none of the clarity a fresh grind delivers. Read more on why fresh-roasted coffee tastes better if you want the deeper explanation, and check our full pour-over workflow guide for pour cadence details beyond what fits here.
Why We Treat Grind and Freshness as One Problem
Grind size gets all the attention because it’s the variable you can see and adjust on a dial. Freshness gets ignored because it’s invisible until the cup tastes flat. We treat them as the same problem, because a perfectly dialed grind setting on stale beans still produces a disappointing cup, and beans ground long before brewing behave like a different, coarser grind than the one you actually set.
That’s why we roast in small batches and why we tell people to grind immediately before brewing rather than the night before. It’s a habit, not a gadget purchase. David P.'s workflow notes on pour-over technique go deeper into pour cadence if you want to keep refining past grind size alone.
If you’re choosing beans specifically to pair with a dial-in routine, look for whole-bean options roasted recently enough that the 15-15-15 window still applies when the bag arrives. That single detail affects your results more than almost any grinder upgrade.
Beans That Pair Well With a Pour Over Dial-In Routine
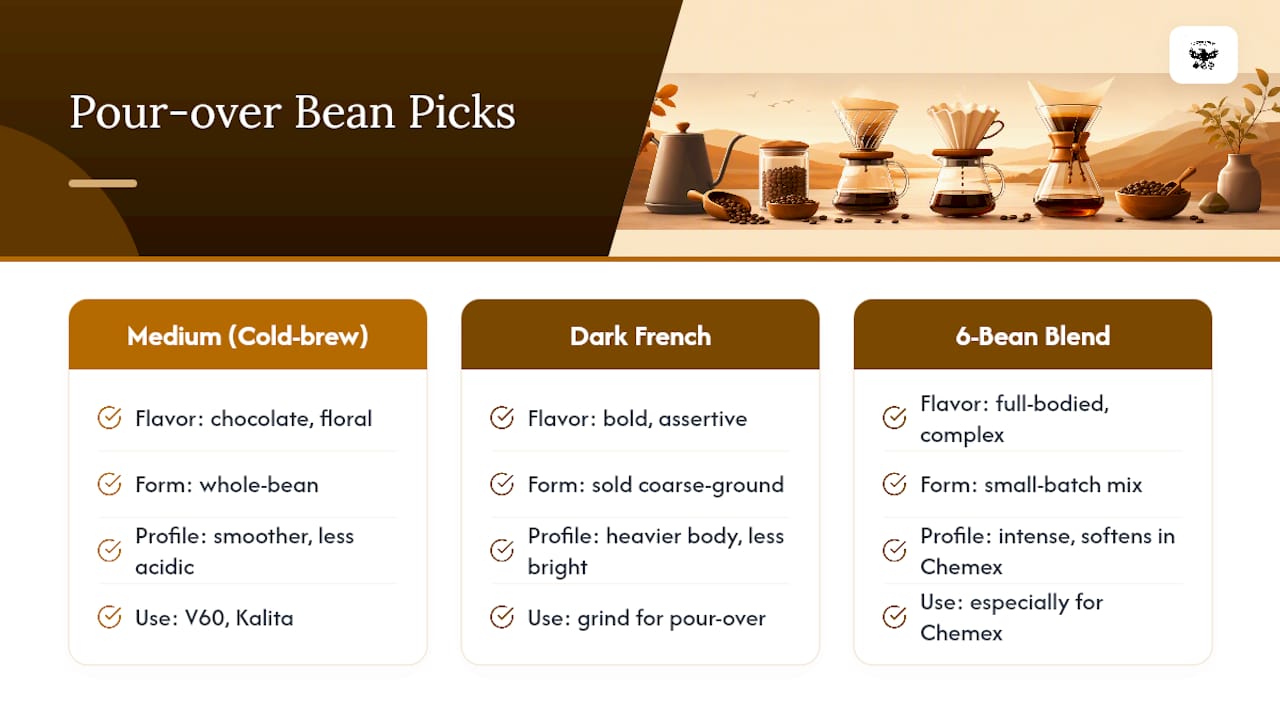
Once your grind routine is locked in, the beans you’re grinding start to matter just as much. Tri Crow Coffee’s medium roast cold brew coffee, with its chocolate and floral notes, works well as a whole-bean option for pour-over drinkers who want a smoother, less acidic profile to build a V60 or Kalita routine around. Buy it whole-bean and grind fresh right before brewing rather than reaching for pre-ground.
For drinkers who prefer a bolder, more assertive cup, the dark French roast, coarse ground option gives you a heavier body with less brightness. It’s sold coarse ground, which suits immersion methods well, but if you want it for pour-over specifically, a whole-bean version ground to your dripper’s target texture will give you more control over drawdown time.
The 6 bean dark roast house blend is a small-batch mix built for readers who want a full-bodied, complex cup without hunting down single-origin bags. It works especially well for a Chemex, where the thicker filter softens some of that intensity into something rounder.
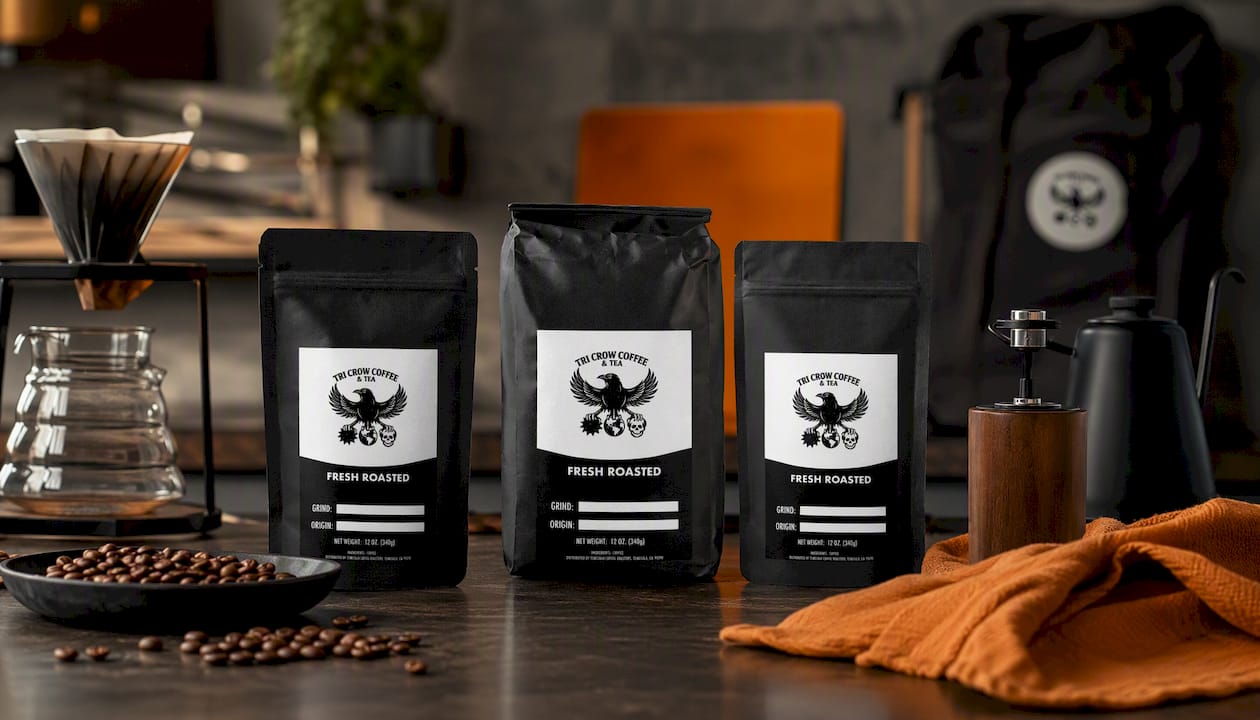
Across all three, the same rule applies: whole-bean beats pre-ground whenever your goal is precise pour-over control. Grinding fresh at home is the one step that keeps your dial-in work from being undone by a bag of grounds that lost their edge days ago. Browse the full lineup at Tri Crow Coffee to find the roast that fits your routine.
Sources
A few sources go deeper into the specific mechanics covered here, if you want to keep researching:
- 15-15-15 coffee rule — Roastopedia
- Coffee Grind Size for Pour-Over (Chart + Taste Adjustments) — CoffeeGearHub
- The Particle Perfection: A Scientific Guide to Mastering Pour-Over Grind Size — Crema Canvas
FAQ
What is the 15-15-15 rule for coffee?
The 15-15-15 rule means using roasted coffee within about 15 days of the roast date and brewing your grounds within 15 minutes of grinding, both aimed at preserving peak flavor clarity.
How many tablespoons of ground coffee for a 12 oz pour over?
Using a roughly 1:16 ratio, about two level tablespoons of ground coffee to 12 ounces of water gets you close, though weighing on a scale gives far more consistent results than scoops.
What is the golden ratio for coffee pour over?
Most pour-over recipes land around a 1:16 ratio of coffee to water by weight, meaning 20 grams of coffee to roughly 320 grams of water as a solid starting point.
How much coffee for 2 cups of pour over?
For two standard 8-ounce cups, the coffee-to-water ratio you use should be adjusted depending on your dripper and taste preference.