
TL;DR:
- Drip coffee brewing involves filtering hot water through medium-ground coffee to produce a clean, balanced cup. Using fresh beans, consistent grind, quality water, and calibrated equipment yields the best results.
Drip coffee brewing is defined as the method of filtering hot water through medium-ground coffee to produce a clean, balanced cup. The Specialty Coffee Association sets the standard for this process, recommending a brew temperature of 92–96°C (197–205°F) and a target extraction yield of 18–22%. Getting there at home requires four things working together: fresh beans, consistent grind, quality water, and properly calibrated equipment. This drip coffee brewing guide covers each variable in full, so you can stop guessing and start brewing with intention.
What equipment and ingredients do you need for great drip coffee?
The right setup makes every other variable easier to control. Start with the beans. Coffee used within 35 days of its roast date produces noticeably better flavor than stale stock. Stale beans produce flat, hollow cups no matter how well you dial in everything else, so always buy from a roaster who prints the roast date clearly on the bag.
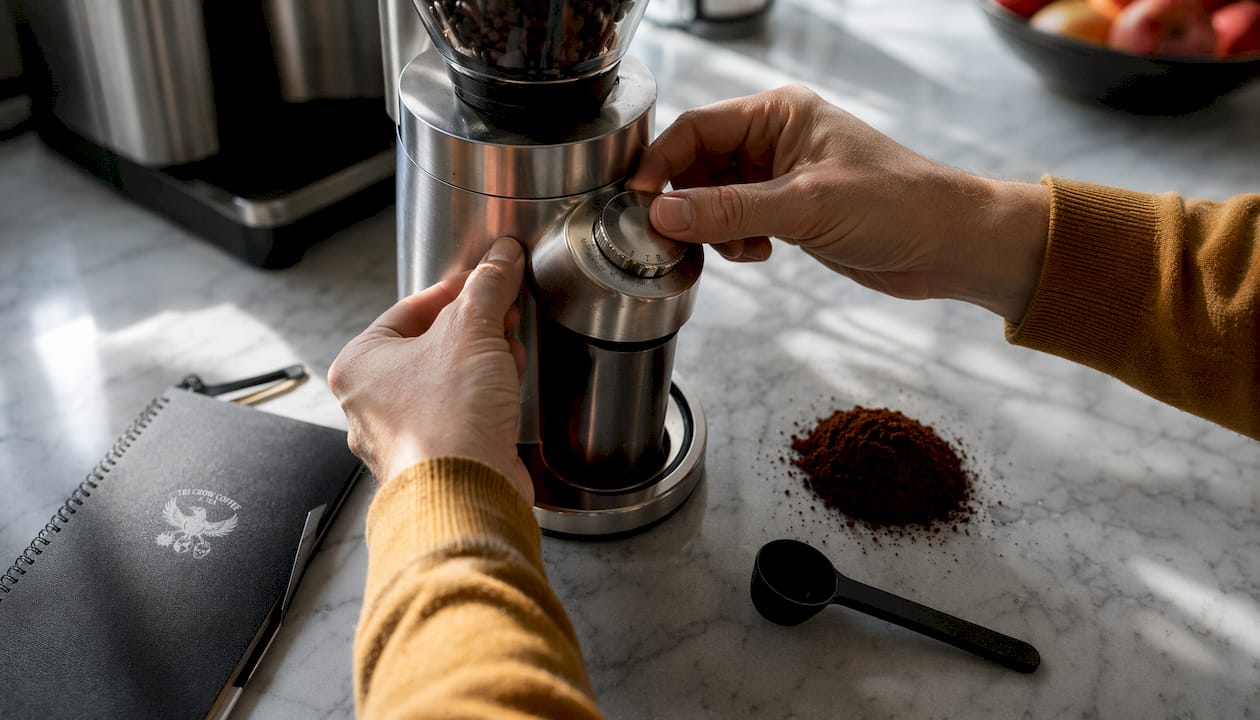
The grinder matters more than the machine. A burr grinder produces uniform particle size, which is the foundation of even extraction. Blade grinders chop unevenly, leaving a mix of fine dust and large chunks that extract at different rates. The result is a cup that tastes both bitter and sour at the same time. Invest in a burr grinder before upgrading your drip machine.
Your drip machine needs to reach the SCA temperature standard of 92–96°C. Many entry-level machines top out below this range, which leads to under-extraction regardless of your grind or ratio. SCA-certified machines are tested and verified to hit this window consistently.
Water quality shapes flavor more than most home brewers expect. Ideal brewing water has a TDS (total dissolved solids) between 75 and 150 ppm and a pH between 6.5 and 7.5. Distilled water tastes flat because it lacks the minerals that carry flavor compounds. Hard tap water causes mineral buildup in your machine and adds off-flavors to the cup. Filtered water from a pitcher or under-sink system hits the right range for most households.
Filter choice also affects the final cup:
- Bleached paper filters absorb oils and produce a cleaner, brighter taste
- Unbleached paper filters work similarly but benefit from a pre-rinse to remove any papery flavor
- Metal mesh filters allow oils to pass through, producing a fuller body with more texture
Finally, use a kitchen scale. Standard coffee scoops vary by up to 20% in dose depending on roast density and grind size. That variance alone explains most inconsistent cups. Weighing both coffee and water takes 10 extra seconds and removes the biggest source of error in home brewing.
Pro Tip: Rinse your paper filter with hot water before adding grounds. This removes papery taste and pre-heats the brew basket, which helps maintain water temperature during extraction.
| Variable | Recommended standard |
|---|---|
| Brew temperature | 92–96°C (197–205°F) |
| Water TDS | 75–150 ppm |
| Water pH | 6.5–7.5 |
| Bean freshness window | Within 35 days of roast |
| Dose consistency | Weigh with a kitchen scale |
How do you execute the step-by-step drip coffee brewing process?
A repeatable process is what separates a good cup from a great one. Follow these steps each time you brew, and you will notice the difference within the first week.
-
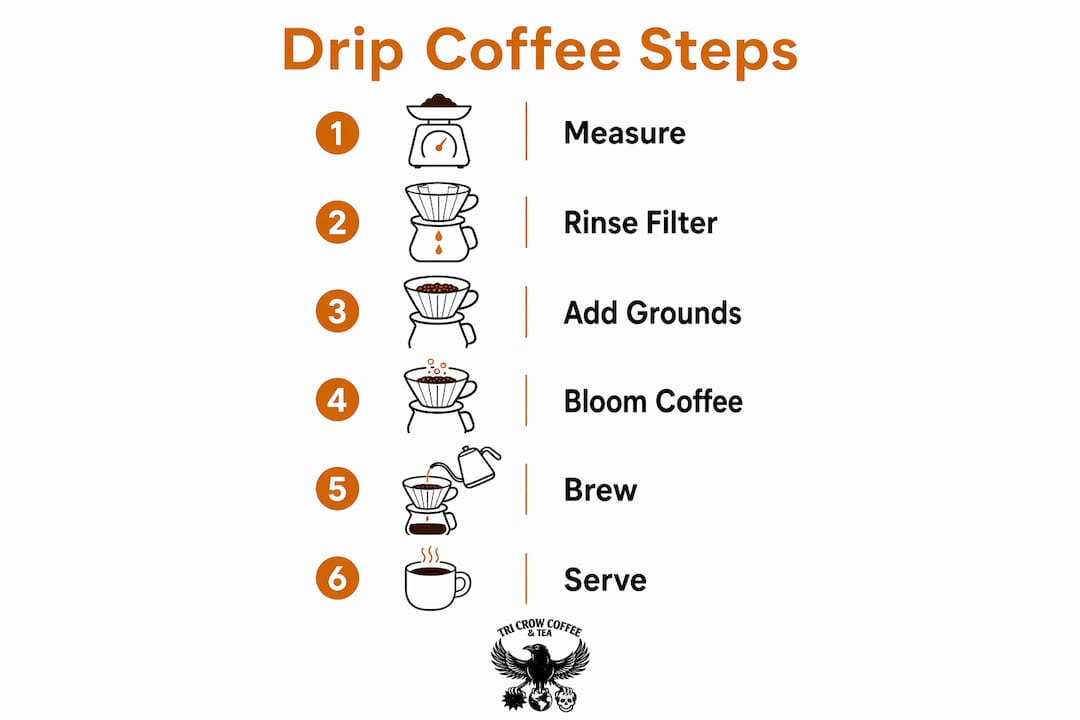
Measure your coffee and water by weight. Start with a 1:16 ratio, meaning 16 grams of water for every 1 gram of coffee. For a 500-gram (roughly 17 oz) brew, use about 31 grams of coffee. Adjust from there based on taste and roast level.
-
Grind fresh, right before brewing. Set your burr grinder to medium for flat-bottomed brew baskets and medium-coarse for cone-shaped baskets. Grinding ahead of time accelerates staling. Pre-ground coffee loses freshness within 1–2 weeks, even in a sealed bag.
-
Rinse your paper filter. Place it in the basket, pour hot water through it, and discard that water. This step takes 15 seconds and removes the papery taste that can muddy a clean cup.
-
Bloom the grounds. Before starting the full brew cycle, pour just enough water to wet all the grounds, roughly twice the weight of the coffee. Wait 30 seconds. This releases CO2 trapped in fresh beans. The bloom stage improves extraction uniformity even on budget machines that lack a built-in pre-infusion feature. You can simulate it manually by pausing the brew cycle right after the initial wetting.
-
Run the full brew cycle. A full carafe should take 4–8 minutes. Faster than 4 minutes usually means the grind is too coarse or the dose is too low. Slower than 8 minutes suggests the grind is too fine or the filter is clogged.
-
Transfer to a thermal carafe immediately. The warming plate on most drip machines cooks the coffee through continued heat exposure, producing bitterness and oxidation within 20 minutes. A thermal carafe keeps coffee at drinking temperature for hours without degrading the flavor.
Pro Tip: If your machine does not have a pre-infusion setting, start the brew cycle, let it run for about 10 seconds, then pause it for 30 seconds before resuming. This manual bloom works on nearly every drip machine.
What are common drip coffee problems and how do you fix them?
Most brewing flaws trace back to two variables: grind size and coffee-to-water ratio. Understanding which direction to adjust each one solves the majority of problems home brewers face.
Weak or watery coffee points to under-dosing, a grind that is too coarse, or a brew temperature that falls below the SCA range. The fix is to increase your dose first, then grind slightly finer if the problem persists. Most home brewers use too little coffee, and reducing grind size to compensate without adding more coffee leads to bitterness rather than strength.
Bitter or harsh coffee usually means the grind is too fine, the ratio is too tight, or the coffee sat on a warming plate too long. Adjust your grinder one step coarser and loosen the ratio slightly toward 1:17 or 1:18. If bitterness appears only in the last few cups from a carafe, the warming plate is the culprit.
Sour or acidic coffee signals under-extraction. The water passed through the grounds too quickly, pulling early-stage acids without reaching the sweeter, balanced compounds. Grind finer to slow the flow, or increase your dose slightly. Check that your machine is reaching the correct brew temperature, since low temperature is a common cause of under-extraction.
- Weak cup: increase dose, grind finer, verify brew temp
- Bitter cup: grind coarser, loosen ratio, remove from warming plate
- Sour cup: grind finer, increase dose, check brew temperature
- Flat or hollow cup: check bean freshness, confirm roast date is within 35 days
Pro Tip: Change one variable at a time when troubleshooting. Adjusting grind size and ratio simultaneously makes it impossible to know which change fixed the problem.
Grind size and ratio work together as linked variables. Grinding finer increases extraction rate, which means you can often loosen the ratio slightly at the same time. Grinding coarser slows extraction, which may require tightening the ratio to compensate. Think of them as a pair, not independent settings.
How do roast level and batch size affect your ratio and grind?
Coffee-to-water ratio is the primary lever controlling cup strength and balance. Roast level changes how readily a bean extracts, which means the same ratio produces very different results across light, medium, and dark roasts.
Light roasts are denser and less porous than dark roasts. They require a tighter ratio, around 1:15, and a finer grind to pull enough flavor from the bean. Brewing a light roast at 1:18 with a medium grind typically produces a thin, sour cup. Medium roasts respond well to the standard 1:16 ratio and a true medium grind. This is the most forgiving range and a good starting point for any new coffee.
Dark roasts extract more readily because the roasting process breaks down cell structure. A looser ratio near 1:17 and a slightly coarser grind prevents over-extraction, which shows up as harsh bitterness in dark roast cups. Batch size adds another layer. Larger batches, such as a full 10-cup carafe, extract less efficiently than a small 2-cup brew because the water-to-grounds contact dynamics change at scale. Tighten your ratio slightly for full carafes to compensate.
| Roast level | Recommended ratio | Grind setting |
|---|---|---|
| Light roast | 1:15 | Medium-fine |
| Medium roast | 1:16 | Medium |
| Dark roast | 1:17 | Medium-coarse |
| Full carafe (any roast) | Tighten by 1 step | Match roast level |
Tri Crow Coffee prints the roast date and roast level on every bag, which makes dialing in these adjustments straightforward. When you know exactly what you are working with, the table above becomes a reliable starting point rather than a guess. For guidance on selecting the right beans for your preferred roast profile, the Tri Crow Coffee blog covers the key factors in detail.
Key Takeaways
Consistent drip coffee requires fresh beans, a burr grinder, SCA-standard brew temperature, and a kitchen scale used together as a system, not as individual upgrades.
| Point | Details |
|---|---|
| Bean freshness is non-negotiable | Use coffee within 35 days of roast for full flavor; stale beans cannot be fixed by technique. |
| Weigh everything | A kitchen scale eliminates the 20% dosing variance that standard scoops introduce. |
| Bloom before you brew | A 30-second pre-infusion releases CO2 and improves extraction uniformity on any machine. |
| Match ratio to roast | Light roasts need 1:15, medium roasts 1:16, and dark roasts 1:17 as starting points. |
| Skip the warming plate | Transfer brewed coffee to a thermal carafe immediately to prevent bitterness and oxidation. |
What I have learned from years of brewing drip coffee at home
The single biggest mistake I see home brewers make is spending money on a new machine before fixing their beans and grinder. A $300 drip machine cannot rescue stale pre-ground coffee. A $60 burr grinder paired with freshly roasted beans from a roaster who prints the roast date will outperform that setup every time.
The bloom step changed my mornings more than any equipment purchase. I was skeptical the first time I tried it on a basic machine. The difference in clarity and sweetness was immediate. CO2 is not just a chemistry footnote. It physically blocks water from contacting the grounds evenly, and releasing it before the full brew cycle makes a real difference in the cup.
My honest advice is to work through the variables in order: beans first, grind second, ratio third, then equipment. Most people get this backward. They buy a new machine, keep using the same grocery-store pre-ground coffee, and wonder why the cup tastes the same. The home brewing tips that actually move the needle are almost always the low-cost ones.
Patience matters too. Give yourself two weeks of consistent brewing before changing anything. One variable at a time, one adjustment per session. The coffee will tell you what it needs if you listen carefully enough.
— David
Tri Crow Coffee brews worth exploring
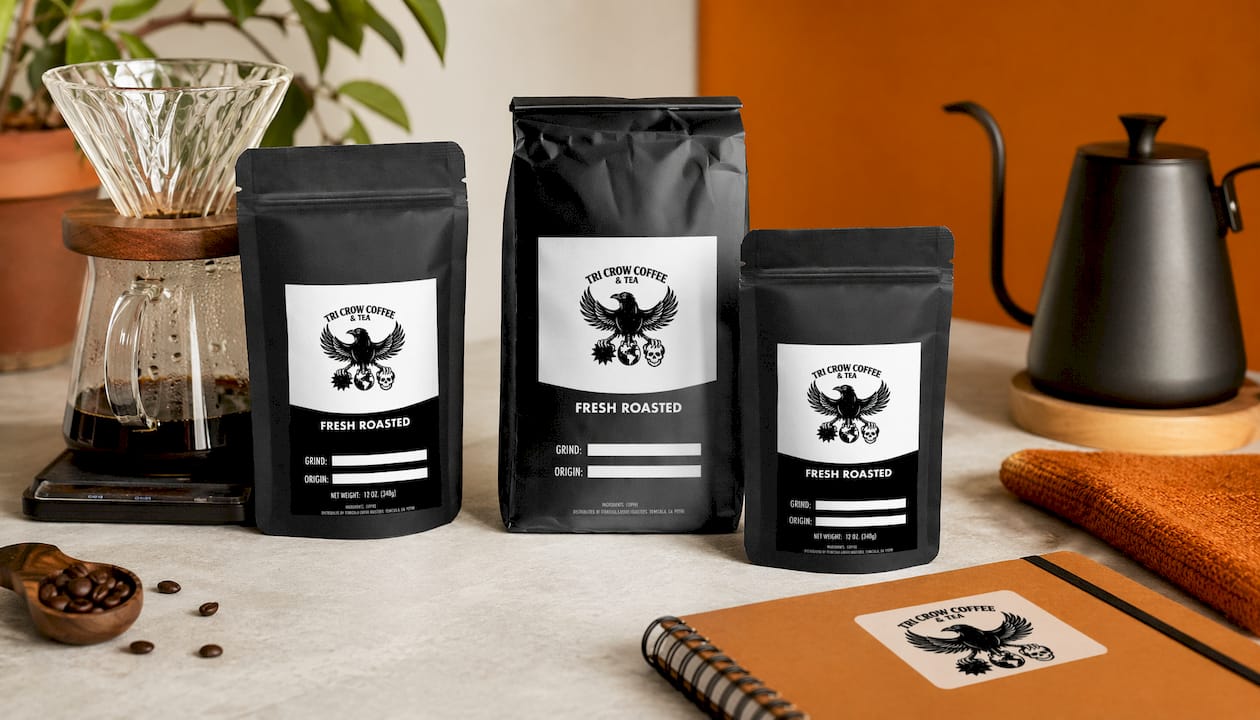
Tri Crow Coffee roasts in small batches with the roast date printed on every bag, which makes applying the ratio and grind adjustments in this guide straightforward from the first brew. Each roast is crafted for a specific flavor profile, so you are not guessing at the starting point. For home brewers who want to explore darker, richer profiles beyond drip, the Dark French Roast cold brew is coarse-ground and ready to brew, and the medium roast cold brew offers a balanced cup with chocolate and floral notes. Both are produced in limited batches, so availability changes regularly. Visit Tri Crow Coffee to see what is currently in stock.
FAQ
What is the best coffee-to-water ratio for drip coffee?
The SCA Golden Cup Standard recommends approximately 55 grams of coffee per liter of water, which equals a 1:18 ratio. Most home brewers start at 1:16 and adjust based on roast level and personal taste.
Why does my drip coffee taste bitter?
Bitterness in drip coffee typically comes from a grind that is too fine, a ratio that is too tight, or coffee left on a warming plate after brewing. Adjust one variable at a time, starting with grind size.
How important is water quality for drip coffee?
Water quality directly affects both flavor and machine health. Brewing water with a TDS between 75 and 150 ppm and a pH between 6.5 and 7.5 produces the cleanest extraction and prevents mineral buildup.
Do I need to bloom grounds in a drip machine?
Blooming releases CO2 from fresh beans and improves extraction uniformity. You can simulate it on any drip machine by pausing the brew cycle for 30 seconds after the initial wetting of the grounds.
How often should I descale my drip machine?
Descaling every 1–3 months is the standard recommendation, depending on your water hardness. Regular descaling maintains proper heat transfer and water flow, both of which affect brew temperature and taste.