
Channeling happens when water carves a fast lane through the coffee bed instead of soaking evenly through it, leaving some grounds over extracted and others barely touched. If you see dark streaks or a crater in the used grounds, stop guessing: inspect the bed, run a gentle Rao spin mid-brew, and grind slightly coarser next time. Expect this to take a few brews to sort out. Channeling rarely has one single cause.
TL;DR:
- Most channeling issues stem from uneven grind distribution or uneven bed preparation, which can be fixed by adjusting grind size and leveling the grounds before pouring.
- Visual cues such as streaks, craters, dry patches, and loose grounds indicate uneven flow and should prompt a check of filter seating and pour technique.
- Fine-tuning involves gentle swirling after pouring, using slow spiral pours from a consistent height, and avoiding direct contact with cone walls to maintain bed integrity.
- Consistently logging variables like grind setting, pour technique, and timing helps identify patterns and ensures better reproducibility of a channeling-free brew.
- Different roasts respond differently to channeling, with lighter roasts more sensitive to water resistance, emphasizing the importance of practice with forgiving beans like house blends for troubleshooting.
Table of Contents
- What Does Channeling Look Like in a Pour Over?
- What Causes Channeling in Pour Over Coffee?
- How to Diagnose Channeling During a Brew
- How Do You Fix and Prevent Channeling?
- Does Dripper Shape Affect Channeling Risk?
- How Tri Crow Coffee Applies This to Our Roasts
- An Editor’s Take on Chasing a Perfect Bed
- Practice Beans Built for Troubleshooting
- Sources
- FAQ
What Does Channeling Look Like in a Pour Over?
The used coffee bed tells you almost everything, and it tells you faster than your stopwatch does. Once the brew finishes, look straight down into the dripper before you toss the grounds.
Visual signs to check:
- Dark, wet vertical streaks running from the surface down to the filter, often near the cone wall
- A crater, trough, or crack in the surface where water clearly funneled through
- Patches of dry or pale grounds sitting right next to darker, saturated ones
- A bed wall that never fully formed, with grounds clinging unevenly to the paper
- Loose grounds stuck to the filter rim above the waterline, a sign water climbed the paper instead of dropping through the bed
Flow behavior backs up what your eyes find. A drawdown that finishes noticeably faster than your usual bake, or one that stalls hard and then suddenly races at the end, both point to a preferential flow path rather than an even soak.
Taste confirms the diagnosis. A channeled cup often tastes hollow or thin in the middle of the sip, with a sour or grassy edge even though your grind size and ratio matched a brew that tasted balanced last week. That mismatch, normal recipe, off cup, is the tell.
Bed inspection beats timing alone because two brews can hit the identical drawdown time while extracting completely differently underneath. Modeling work published in PLOS ONE found that outlet flow curves can look nearly identical even when the internal extraction map is wildly uneven, which is exactly why a fast, tidy looking pour can still hide a channeled bed.
What Causes Channeling in Pour Over Coffee?
Channeling forms wherever water finds a path of least resistance, and that path opens up for a handful of specific, fixable reasons.
- Uneven grind distribution. A burr grinder that throws off a wide mix of fines and boulders creates a bed with patches of high and low permeability side by side. Water always finds the loose, coarse pocket first.
- Bed preparation errors. A lopsided pour that mounds grounds to one side, or a bloom that never gets leveled, leaves the bed geometry crooked before real brewing even starts.
- Aggressive pour technique. A thick, high stream that slams into the bed digs a crater on contact, and pouring straight against the cone wall breaks down the coffee wall that should be holding water back evenly.
- Filter seating and bypass. A folded paper edge, an air gap between filter and cone, or water poured directly onto exposed paper lets water skip the coffee bed almost entirely and run straight to the mug.
- Fines migration and clumping. As water pushes through the bed, fine particles drift downward and pack together, clogging some zones while opening others, a mechanism confirmed by microCT and simulation work on particle microstructure and post-extraction porosity.
Grind is usually the biggest lever. A burr grinder tuned for a narrow particle spread gives you a bed that resists channeling almost by default, because there aren’t wildly different pore sizes for water to exploit. Pour technique is the second lever, and it’s the one most home baristas fix first simply because it costs nothing.
Fluid dynamics research frames this whole problem as percolation through a non-uniform porous medium. Perfect uniformity isn’t achievable with a natural, ground material like coffee, according to analysis from the Fraunhofer Institute. The real goal is narrowing the permeability gaps enough that they stop showing up in the cup.
Filter problems get overlooked constantly. The National Coffee Association notes that a bunched or folded filter blocks even flow just as effectively as a bad grind does, so check the paper before you blame anything else.
How to Diagnose Channeling During a Brew
Run this checklist right after a brew you suspect went sideways, while the bed is still wet and intact.
- Photograph the bed from directly above before you disturb it. Streaks and craters are easiest to spot in the first ten seconds.
- Compare drawdown time to your usual baseline for that same recipe. A gap of 20 seconds or more either way is worth investigating.
- Note any stall, a point where flow nearly stops, followed by a sudden rush. That pattern almost always means a channel opened partway through.
- Micro-sip test. Taste a small spoonful from the top of the cup and another from near the bottom. A flavor split between the two suggests uneven extraction reached your mug.
- Repeat with a controlled pour. Brew the same recipe again using a slow, centered spiral pour and see if the symptom disappears.
If the bed looks fine but the taste is off, suspect the pour or the filter seating rather than the grind. If the bed itself shows visible craters no matter how carefully you pour, the grind distribution is the likelier culprit, and it’s worth running it past a grinder maintenance check before changing anything else.
Pro Tip: Keep your phone camera angled the same way every time you photograph a bed. A consistent angle turns your photo log into a real before-and-after comparison instead of a pile of random snapshots.

How Do You Fix and Prevent Channeling?
Work through these in order. Most channeling problems get solved in the first three steps, long before anyone needs to buy new gear.
- Run a final swirl or Rao spin. A gentle clockwise swirl of the slurry right after your last pour settles fines to the bottom and flattens the bed surface, according to brewing guidance from Gota. If the surface levels out cleanly, your channeling was likely mild and pour related.
- Switch to a pencil stream poured in a slow spiral. Keep the kettle spout about 1 to 2 centimeters above the bed and avoid pouring directly against the cone wall, which is one of the most common causes of a broken bed wall.
- Level the dose before you pour. A light tap or a quick shake of the dripper right after adding grounds removes mounding and gives water an even surface to start from.
- Adjust grind in small steps. If flow stalls, go one click coarser rather than jumping several settings at once, a fix recommended by Coffee Lovers 101 for relieving fines-driven clogs.
- Clean your burrs regularly. Oil buildup and stale fines lodged in the burr chamber widen your particle spread over time, even on a grinder that performed well a month ago.
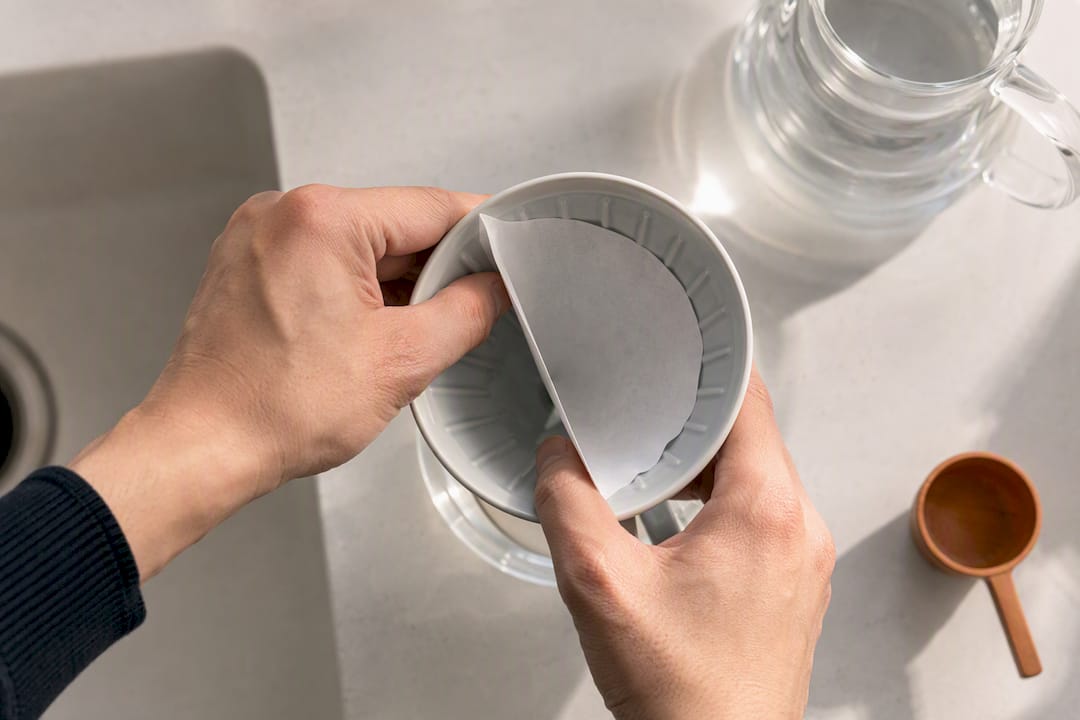
- Rinse the filter thoroughly and check the seating. Hot water should hug the paper flat against the cone with no visible air gap or fold before you add coffee.
- Change one variable per brew and log it. Note dose, grind setting, kettle height, and total time for every attempt. Without a log, you’re guessing which fix actually worked.
Two of these deserve extra attention because they’re where most people go wrong without realizing it. Kettle height gets overlooked constantly: pouring from 6 inches up looks dramatic, but it aerates the stream and turns a controlled pour into a scattershot one. And the “one variable per brew” rule is the difference between actually solving channeling and just stumbling into a lucky cup you can’t reproduce.
Pro Tip: If you’re short on time, fix pour technique before you touch the grinder. It’s free, it’s instant, and in a lot of cases it solves the entire problem on its own.
Not every trace of channeling needs a full rework. A tiny streak with no taste impact is common even in a well-dialed pour over workflow and isn’t worth chasing. Rework the whole setup, grind, filter, and pour together, only when the cup tastes consistently hollow or sour despite matching your usual recipe.
Does Dripper Shape Affect Channeling Risk?
Cone shape changes how forgiving your setup is. CFD modeling in the PLOS ONE study found that conical geometries tend to produce vertical extraction gradients, meaning water moves differently near the tip than it does near the rim, which can hide internal unevenness even when the total brew time looks normal.
- Spiral-ribbed cones channel water down along the ribs efficiently, but a paper filter that lifts off those ribs creates its own bypass path, so always press the paper flat during your rinse.
- Flat-bottom drippers tend to be more forgiving for beginners because the wider, even base spreads water pressure across a larger surface instead of funneling it toward one point.
- Filter choice matters as much as shape. A poorly seated or folded filter undoes whatever advantage a well-designed dripper offers, echoing the seating warnings from NCA’s brewing guidance.
- A properly rinsed filter removes paper taste and helps the paper cling to the cone wall, closing off the small air gaps where bypass starts.
Your equipment list doesn’t need to be long. A gooseneck kettle for pour control, a scale accurate to a tenth of a gram, a timer, and a small loupe or magnifier for inspecting the dry grind cover the diagnostic basics most home setups actually need.
How Tri Crow Coffee Applies This to Our Roasts
Different roast levels behave differently under a channeled pour, which is worth knowing before you blame your technique. Lighter roasts are denser and resist water more, so a bad pour shows up faster as sourness. Darker, more porous roasts mask channeling a little longer in the cup, but they punish a bad grind distribution with bitterness once fines start clogging the bed.
For practice brews, our House Blend Medium Roast and Gourmet Donut Shop Coffee are both forgiving enough to isolate pour technique without a roast profile fighting you at the same time. Pair either one with the pour over workflow guide and the grinding guide David P. put together, and you’ve got a repeatable practice loop rather than a one-off fix.
An Editor’s Take on Chasing a Perfect Bed
The channeling problem I kept running into for weeks turned out to be my kettle height, not my grinder, and I only caught it by logging every variable instead of trusting memory. Most people give up on troubleshooting after two or three brews because nothing changes fast enough. Change one thing at a time, write it down, and give it ten to fifteen brews before you expect a real pattern to show. Coffee rewards patience over gear upgrades almost every time.
— David P.
Practice Beans Built for Troubleshooting
Fixing pour over channeling takes reps, not new equipment, and reps go faster when the beans in front of you aren’t fighting your technique. Tri Crow Coffee’s Single Origin Favorites sample pack gives you six different 2oz packs, which means you can run the same pour technique across six different densities and origins without buying six full bags to find out what works.
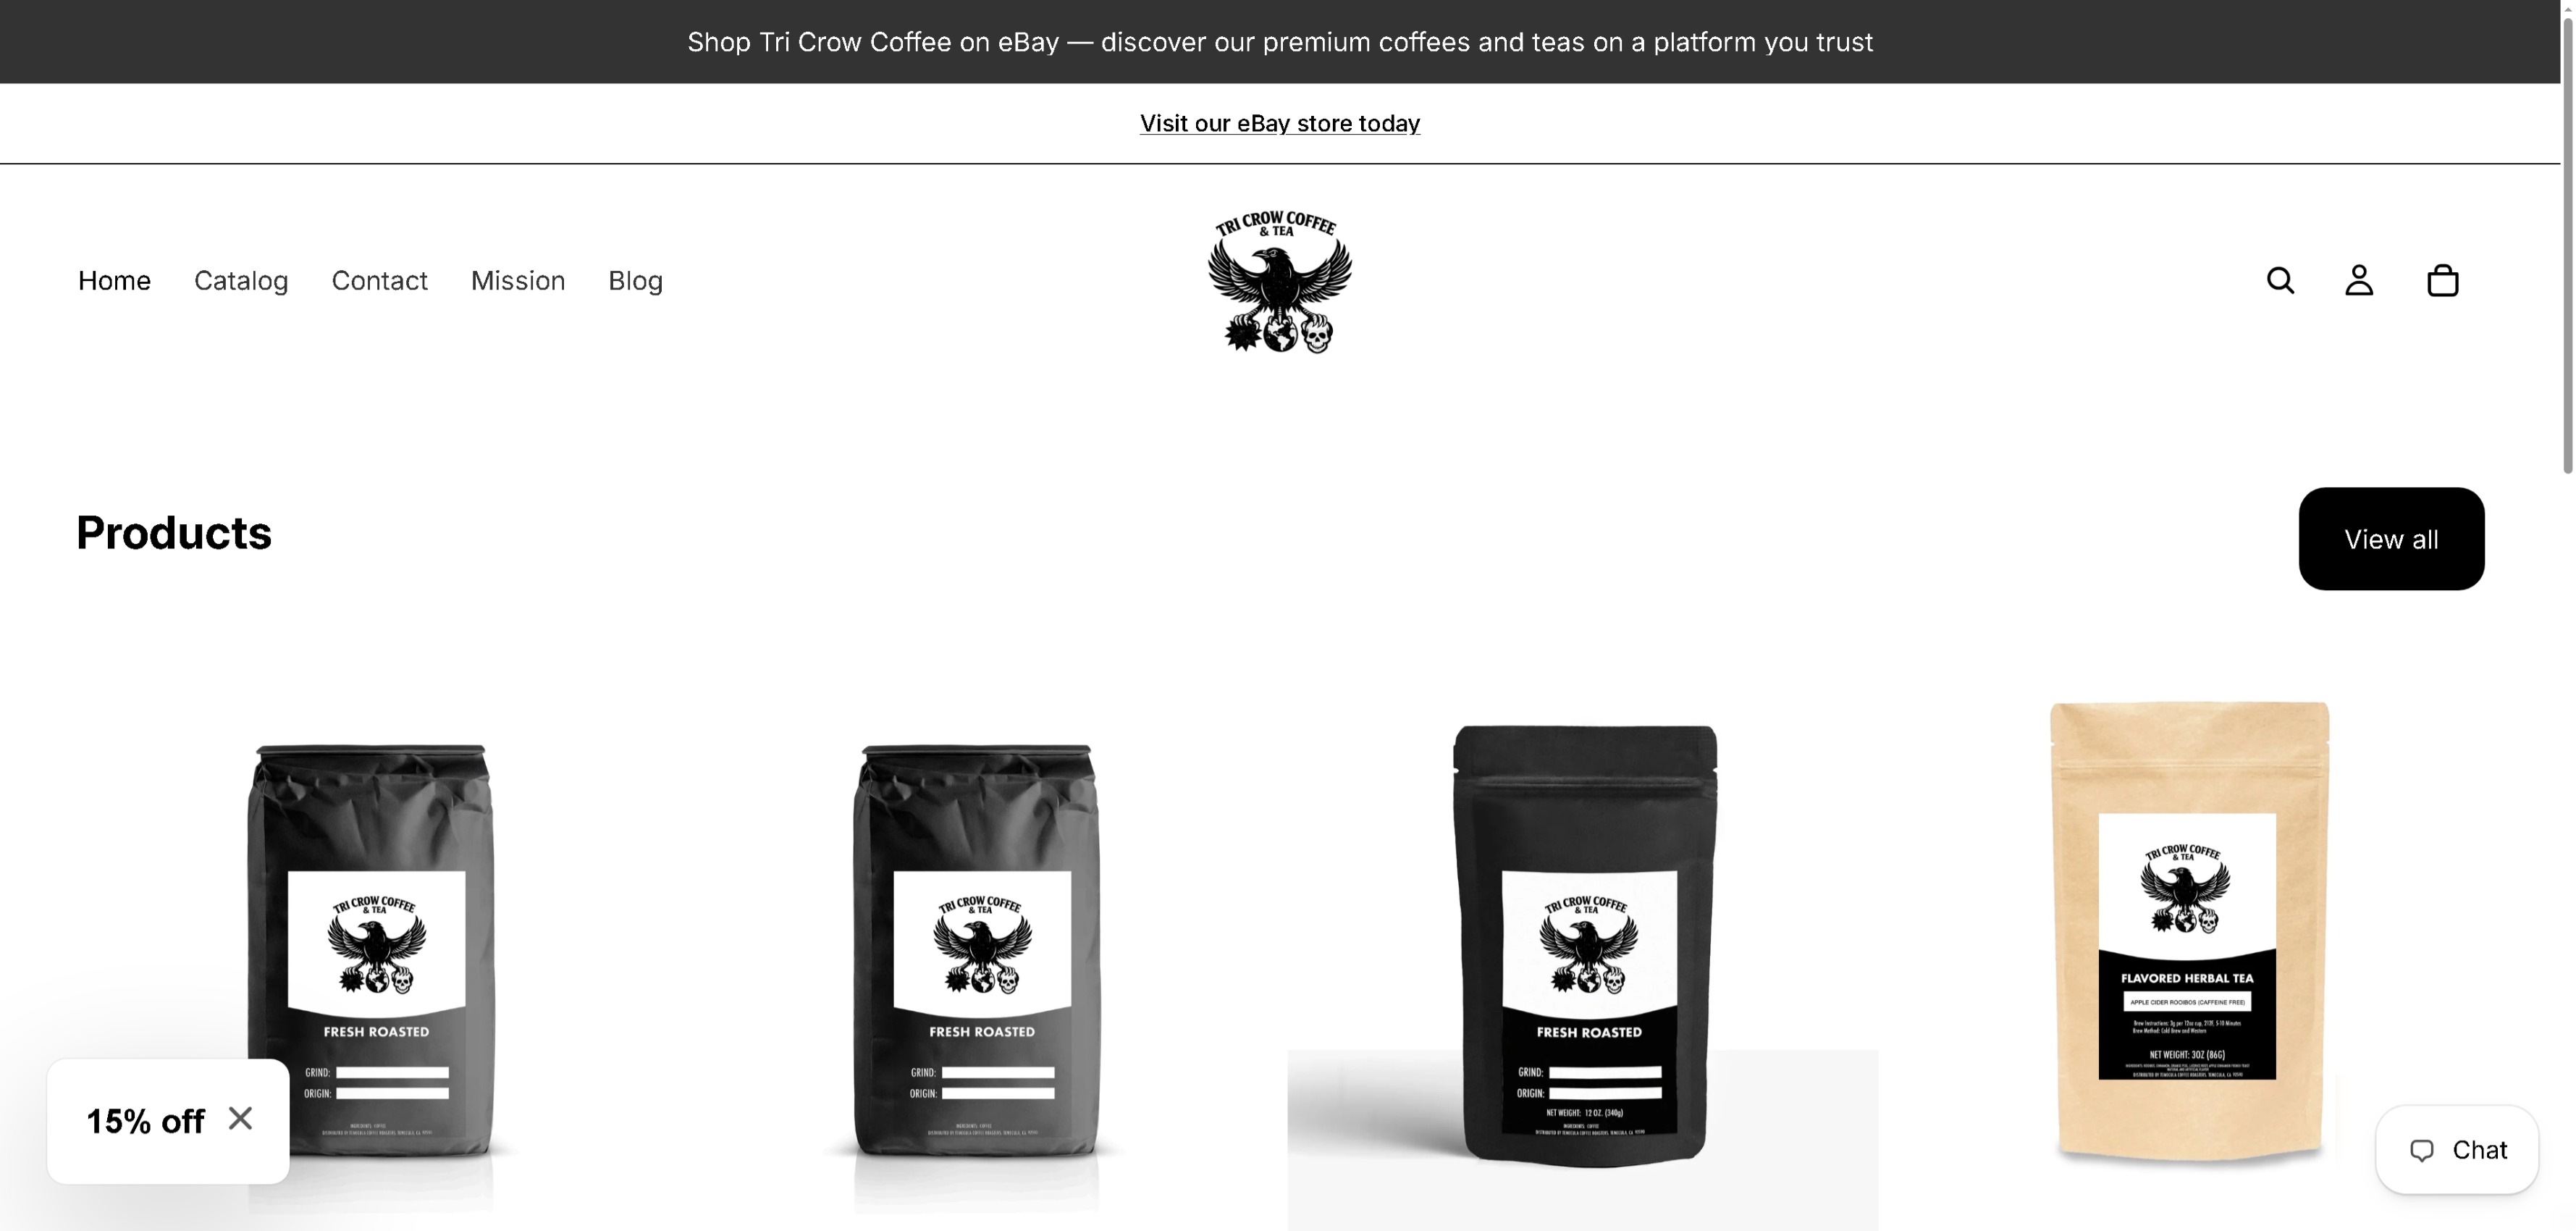
Start with the House Blend Medium Roast or the Gourmet Donut Shop Coffee for your first controlled experiments, since both roasts tolerate a slightly imperfect pour while you dial in kettle height and grind. Once your technique holds steady across those, the sample pack becomes your testing ground for the trickier, denser origins. No bean fixes bad technique on its own, but the right lineup makes it far easier to tell your pour from your grind. Grab the sample pack and start logging your next brew today.
Sources
- If your coffee tastes bad, it may be due to channeling — Fraunhofer IIS
- Analysing extraction uniformity from porous coffee beds using mathematical modelling and computational fluid dynamics approaches — PLOS ONE
- Channeling (Gota)
- Troubleshooting Pour-Overs: Channeling and Stalls - Coffee Lovers 101
FAQ
What Is Channeling in Coffee?
Channeling is when water cuts a fast path through part of the coffee bed instead of soaking through it evenly, leaving some grounds over extracted and others under extracted in the same brew.
What Is the Best Pour Over Technique to Avoid Channeling?
A slow, centered spiral pour held about 1 to 2 centimeters above the bed, combined with a level dose and a final gentle swirl, prevents most channeling before it starts.
What Is the Disadvantage of Pour Over Coffee?
Pour over rewards precision but punishes small mistakes; uneven pouring, grind, or filter seating can quickly cause channeling and an inconsistent cup, which is less forgiving than an immersion method.
How Do You Get Rid of Channeling?
Inspect the used bed for streaks or craters, adjust your pour to a slow centered stream, grind slightly coarser if flow stalls, and change only one variable at a time until the streaks disappear.