
Yes, you can make a genuine cappuccino without an espresso machine, and the fastest reliable route is a two-step move: brew concentrated coffee, then froth milk by hand. Use a French press, a Moka pot, or even a mason jar you already own, and aim for the classic 1:1:1 ratio of coffee, steamed milk, and foam. No steam wand required.
TL;DR:
- Concentrated coffee for cappuccino can be brewed using a Moka pot, French press, Aeropress, or Turkish pot to mimic espresso strength.
- Frothing milk to the right temperature with manual tools like a handheld frother, French press plunger, or shaken jar produces stable, dense foam.
- For a balanced cappuccino, use about one ounce of coffee concentrate, equal parts steamed milk, and foam, adjusting proportions for larger sizes.
- Coffee grind size and brewing ratio are critical; finer grinds and less water ensure a strong enough coffee to resist overpowering by milk.
- Fresh beans and proper storage significantly improve flavor, with instant concentrates as quick alternatives when time or equipment are limited.
Table of Contents
- How to Make Cappuccino Without a Machine: What You Actually Need
- What’s the Best Way to Brew Concentrated Coffee at Home?
- How Do You Froth Milk Without a Steam Wand?
- The One Cappuccino Recipe Worth Memorizing
- Fixing the Four Most Common Mistakes
- Why These Steps Actually Work
- A Publisher’s Note on Beans and Ritual
- Quick Cappuccino Options When You’re Short on Time
- A Few More Places to Learn the Technique
- Sources
- FAQ
How to Make Cappuccino Without a Machine: What You Actually Need
You don’t need a rack of gear to pull this off. You need one tool that produces strong, concentrated coffee and one tool that can beat air into warm milk. Most kitchens already have both.
- Moka pot: best for a true espresso-style shot with body and a little crema.
- French press: doubles as a brewer and a frother, which makes it the most versatile single tool in this whole method.
- AeroPress: fast, forgiving, and great for a reduced-water “concentrate” recipe.
- Turkish coffee pot (ibrik): slow, low-heat brewing that builds its own foam layer.
- Handheld milk frother, whisk, or a lidded jar: any of these will aerate milk into cappuccino-worthy foam.
Milk matters as much as the brewing tool. Whole milk froths the densest and holds its shape longest because of its fat and protein content. Two percent works fine but produces slightly thinner foam. Barista-blend oat milk is the most reliable plant-based option since it’s formulated to froth; standard almond or soy milk can separate or produce a looser, bubblier foam.
Grind size should match your method: fine (almost powdery) for a Moka pot, medium-coarse for a French press. If you’re unsure where to start, Tri Crow Coffee’s grinding guide for home baristas breaks down grind-to-method pairing in more detail, and a medium roast tends to give you the sweetness and body a cappuccino needs without tasting harsh at concentrated strength.
What’s the Best Way to Brew Concentrated Coffee at Home?
A cappuccino needs coffee that can stand up to milk, which means you’re brewing something stronger than a regular cup. Here’s how to get there with four different tools.
- Moka pot. Grind fine, similar to espresso but slightly coarser, and never tamp the basket. Fill the bottom chamber to the valve line, load the basket level (don’t pack it), and set it over medium heat. Pull it off the burner the moment the top chamber starts to gurgle. That timing matters. Letting it run longer scorches the coffee and turns it bitter. One Moka pot run gives you roughly 1 to 2 ounces of espresso-equivalent coffee, enough for a single cappuccino.
- French press concentrate. Use a heavier dose than you would for a regular cup, around a 1:6 coffee-to-water ratio instead of the usual 1:15. Coarsely grind your beans, steep for 4 minutes, then press down slowly. For extra clarity, pour the concentrate through a fine mesh strainer before using it.
- Turkish pot (ibrik). Use a very fine, almost flour-like grind. Combine grounds and cold water directly in the pot and heat slowly, never letting it come to a full boil. As foam starts rising to the surface, pull it off the heat briefly, then return it for a second rise. This builds a natural foam cap you scoop off and set aside before decanting the coffee underneath.
- AeroPress or strong pour-over. Flip the AeroPress into the inverted position, use a fine grind, and cut your water down to roughly 1 to 1.5 ounces total for a near-espresso intensity. Steep 1 to 2 minutes, stir, then press through slowly.
Whichever method you choose, the goal is the same: a small volume of intensely flavored coffee, not a full mug of drip. A single cappuccino needs about 1 ounce of this concentrate; a double needs roughly 2 ounces.
Pro Tip: Grind finer and use less water than feels intuitive. A watery concentrate is the single most common reason a homemade cappuccino tastes flat once milk goes in, because milk will always overwhelm coffee that isn’t strong enough to begin with.
How Do You Froth Milk Without a Steam Wand?
Foam is where most home cappuccinos fall apart, but it’s also the easiest part to fix once you know the mechanics. You’re trying to hit a milk temperature around 140 to 150°F while working air into the surface, and experts note that heating milk into roughly that range while introducing air early produces the sweetest, most stable foam.
- Handheld frother: warm milk on the stove or in the microwave to around 140 to 150°F, then submerge the whisk head just below the surface and run it for 20 to 30 seconds. You’ll get consistent, fine microfoam fast.
- French press pumping: fill the carafe about a third full of warm milk, plunge the mesh up and down vigorously for 30 to 45 seconds, then finish with a few slow swirls to smooth out any large bubbles. This method reliably produces good foam once the milk is warmed first and pumped with real force.
- Jar shaking: fill a lidded jar no more than halfway with warm milk, seal it tight, and shake hard for 30 to 60 seconds. Manual frothing methods like this typically double the milk’s volume in foam, which is plenty for one cup.
- Whisk: works in a pinch, though it takes more effort and produces looser foam. Rescue a weak batch by microwaving it 10 seconds and whisking again.
Whole milk holds foam longest; if you’re using a plant milk, stick to a barista-formulated version, since standard varieties tend to collapse faster once poured.
The One Cappuccino Recipe Worth Memorizing
Once you’ve got concentrate and foam, assembly is quick. Here’s the 1:1:1 build for both a standard cup and a larger double.
- Warm your cup first. Rinse it with hot water and dump it out. A cold cup pulls heat out of your drink fast.
- Brew your concentrate using whichever method you picked, timing it so it’s ready right as your milk finishes heating.
- For a single 5 to 6 ounce cappuccino: use about 1.5 to 2 ounces of coffee concentrate, 1.5 to 2 ounces of steamed milk, and 1.5 to 2 ounces of foam.
- For a double, 8 to 10 ounce cappuccino: double every component, roughly 3 ounces coffee, 3 ounces milk, 3 ounces foam.
- Pour the coffee into the warmed cup first.
- Add the steamed milk, pouring slowly to let the denser foam rise and settle rather than mixing in.
- Spoon the remaining foam on top if it hasn’t naturally settled there, mounding it slightly above the rim.
- Finish, if you like, with a light dusting of cocoa powder or cinnamon.
If you want to try a rough pour pattern instead of spooning, a small wobble as you pour near the end can pull a simple heart or rosette shape into the foam. Tri Crow Coffee’s beginner latte art guide covers the basic pour angles if you want to take that further.
Fixing the Four Most Common Mistakes
Weak, watery coffee is usually a grind or ratio problem, not a bean problem. Grind finer, cut back your water, or switch to a Moka pot or AeroPress if a French press isn’t giving you enough intensity.
Collapsed or thin foam almost always traces back to temperature or milk choice. If your foam deflates within a minute, your milk was probably too hot (above 160°F breaks down the proteins that hold bubbles) or too cool to aerate properly. Re-froth in short bursts rather than starting over.
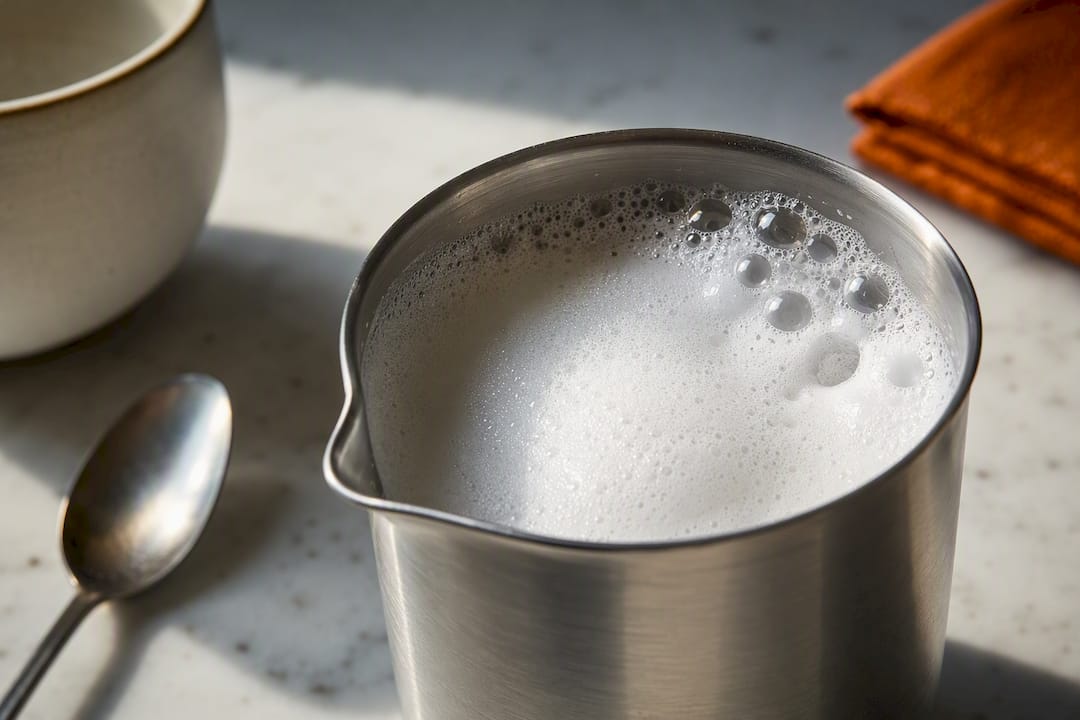
Big, soapy bubbles instead of tight microfoam mean you introduced air too aggressively. Tap the frothing vessel on the counter a few times, then swirl gently. That collapses the oversized bubbles and lets you spoon off the dense foam underneath.
Freshness fixes more problems than technique ever will. Beans lose their brightest flavor within 2 to 4 weeks of roasting, and grinding immediately before brewing preserves far more of that flavor than pre-ground coffee sitting in a bag. If you’re short on time, a quality instant concentrate is an honest shortcut, not a compromise, as long as you’re upfront that it’s a different starting point than a fresh brew.
Pro Tip: Keep beans in an opaque, airtight container away from the stove. Heat and light degrade flavor faster than almost anything else in a home kitchen.
Why These Steps Actually Work
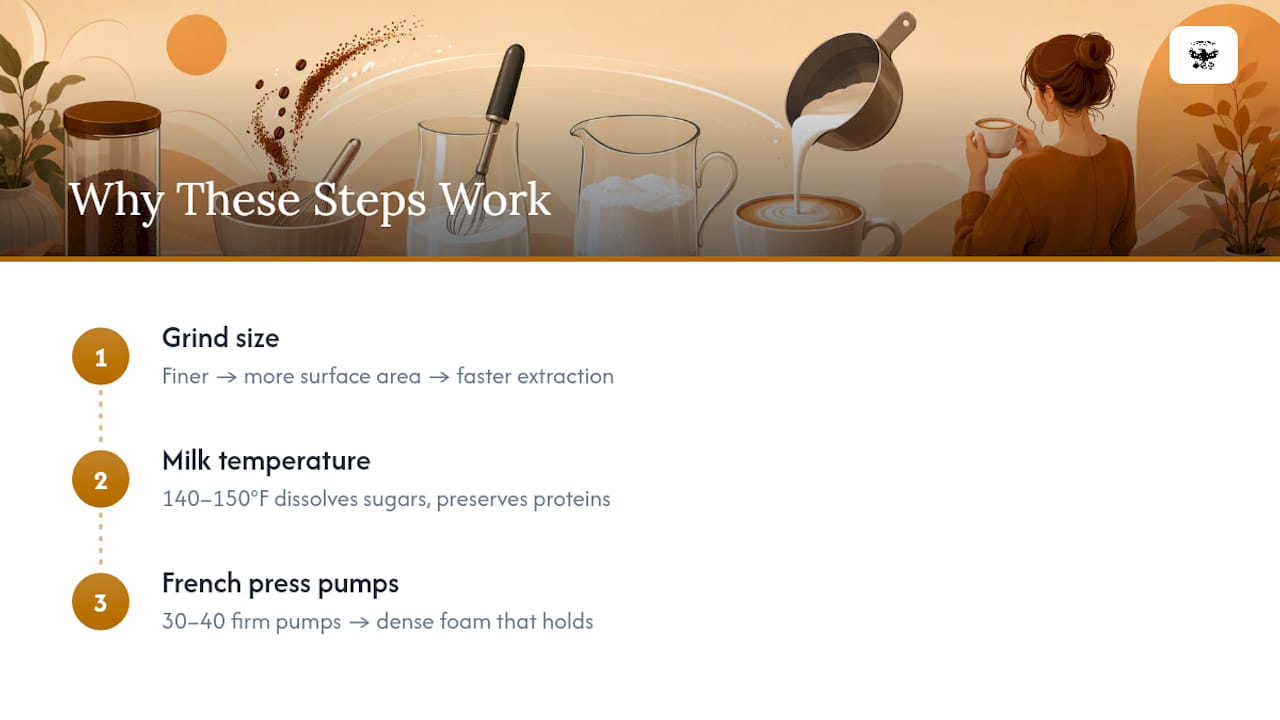
Grind size controls extraction speed. Fine grinds expose more surface area, which is why Moka pots and Turkish pots need it to build strength fast. Milk temperature around 140 to 150°F is the sweet spot because it’s warm enough to dissolve natural sugars without scalding the proteins that trap air. One hand-tested detail worth remembering: 30 to 40 firm pumps with a French press plunger, not a lazy dozen, is usually what separates thin foam from something that holds its shape on top of your cup.
A Publisher’s Note on Beans and Ritual
Small-batch roasting is worth the extra care because fresher beans make every method above taste noticeably better. Tri Crow Coffee treats that first cup as a daily ritual worth getting right, one deliberate pour at a time.
— David P.
Quick Cappuccino Options When You’re Short on Time
There are mornings when grinding, brewing, and frothing from scratch just isn’t in the cards, and that’s exactly where a well-made instant option earns its place. Tri Crow Coffee’s Instant Coffee 30-Serving Pouch dissolves into hot water to form a concentrated base you can froth milk into using any of the methods above, no brewing equipment necessary.
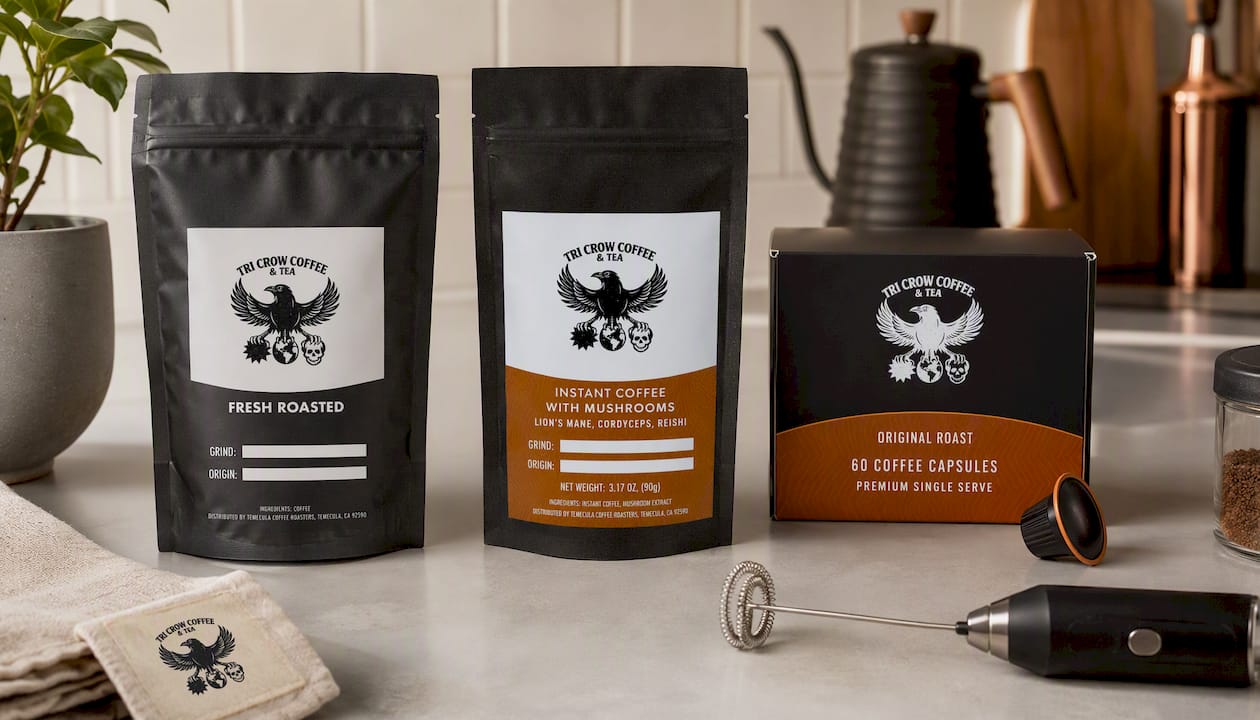
If you use a single-serve capsule brewer, the Original Roast 60-Pack Coffee Capsules give you a consistent concentrated shot every time, which pairs cleanly with hand-frothed milk for a cappuccino that doesn’t depend on dialing in a grinder. And if you’re curious about functional blends, the Instant Coffee with Mushrooms pouch, built with lion’s mane, cordyceps, and reishi, works the same way as a base for milk while adding an adaptogen angle for readers who want more than caffeine out of their morning cup. Pick whichever fits your schedule and start your next cup with it.
A Few More Places to Learn the Technique
- Good Housekeeping’s expert cappuccino tips on freshness and grind.
- Home Espresso Lab’s cappuccino guide on ratios and milk temperature.
Sources
- Expert tips: how to make cappuccino — Good Housekeeping
- How to make a cappuccino without an espresso machine — VegTasty
- How to make a cappuccino at home (Home Espresso Lab)
FAQ
Can You Make a Cappuccino Without a Coffee Machine?
Yes. Brew concentrated coffee with a Moka pot, French press, AeroPress, or Turkish pot, then froth warm milk with a handheld frother, French press plunger, or a shaken jar.
Is a Cappuccino Just Espresso With Milk?
Not quite. A cappuccino is specifically built on roughly equal parts espresso-strength coffee, steamed milk, and foam, giving it a thicker, drier texture than a latte, which uses more milk and less foam.
Can You Make a Cappuccino With Regular Drip Coffee?
You can, but regular drip coffee is too diluted to hold its own against milk, so the result tastes weak. Brewing a true concentrate, or using an instant concentrate like instant pouch, gets you closer to an authentic result.
What’s the Best Way to Make a Cappuccino at Home?
For most people, a French press does double duty best: brew a concentrated dose with a heavier coffee ratio, then pump the empty press with warmed milk to build foam, all with one tool.
How Hot Should the Milk Be for Cappuccino Foam?
Aim for 140 to 150°F. Milk hotter than about 160°F starts breaking down the proteins that hold foam together, which is the most common reason foam collapses fast.