
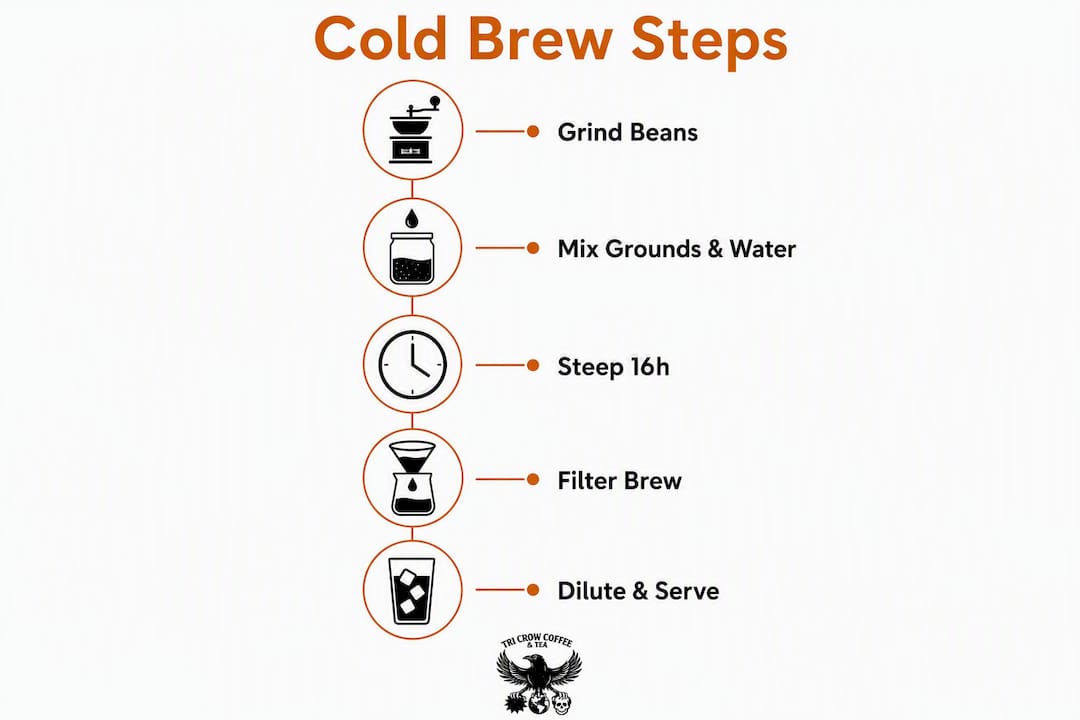
Combine 100 g of coarsely ground coffee with 1,000 g (1 liter) of cold filtered water, stir until fully saturated, cover, and steep for roughly 16 hours in the refrigerator. Strain through a mesh sieve lined with a paper filter, and you have a concentrate ready to dilute 1:1 with water or milk over ice.
Three steps, no special equipment required:
- Weigh and grind your coffee extra-coarse (think coarse sea salt).
- Combine and saturate fully in a mason jar or pitcher, then cover.
- Steep 12–24 hours, strain twice, refrigerate, and dilute to taste.
Starting ratio: 1 part coffee to 10 parts water by weight. Steep time: aim for ~16 hours as your median target.
Dilute the finished concentrate 1:1 with cold water or milk before serving. If you prefer it stronger, pull back to a 1:8 ratio. If it tastes thin, steep 2–3 hours longer before adjusting anything else.
Table of Contents
- What makes cold brew different from iced coffee?
- What you need to make cold brew at home
- Step-by-step cold brew concentrate recipe
- Making cold brew ready-to-drink (skip the concentrate)
- How grind size and steep time work together
- How to strain and filter for a clean cup
- How long does cold brew keep in the fridge?
- Serving cold brew and easy variations
- Quick fixes for bitter, weak, or gritty cold brew
- Why the core rules actually work
- Key Takeaways
- Cold brew is a ritual worth getting right
- Tri Crow Coffee makes cold brew simpler to start
- FAQ
What makes cold brew different from iced coffee?
Cold brew is made by steeping coarsely ground coffee in cold or room-temperature water for many hours, a process called full-immersion extraction. No heat is involved at any stage. Iced coffee, by contrast, is hot-brewed coffee poured over ice, which means it goes through rapid heat extraction and then quick cooling.
Temperature changes everything about how coffee extracts. Hot water pulls acids and bitter compounds quickly; cold water extracts more slowly and selectively, leaving behind many of the sharper organic acids. The result is a beverage that tastes noticeably smoother, with lower perceived acidity and a heavier, almost syrupy mouthfeel compared to drip or espresso. Cold brew’s lower titratable acidity versus hot brew has been confirmed in multiple lab studies, which is why people who find regular coffee harsh often tolerate cold brew well.
What you need to make cold brew at home
Ingredients:
- Whole-bean coffee (Arabica preferred; medium or dark roast works well)
- Filtered water, though clean-tasting tap water is fine
Equipment options, from minimal to convenient:
- Mason jar or large pitcher + mesh sieve + paper coffee filter or cheesecloth
- French press (doubles as steeping vessel and first-pass strainer)
- Reusable nut-milk bag (steep directly inside, lift and squeeze gently)
- Dedicated cold-brew maker with a built-in filter basket
Any of these works. The mason jar method costs nothing extra if you already own one. A French press is the most convenient all-in-one option for most home brewers.
On coffee selection: Arabica beans and medium roasts are the most common choices for cold brew, and for good reason. Medium roasts preserve chocolate and floral notes that cold water extracts beautifully. Dark roasts produce a bolder, less acidic cup. Light roasts can work but often taste thin or grassy without a longer steep.
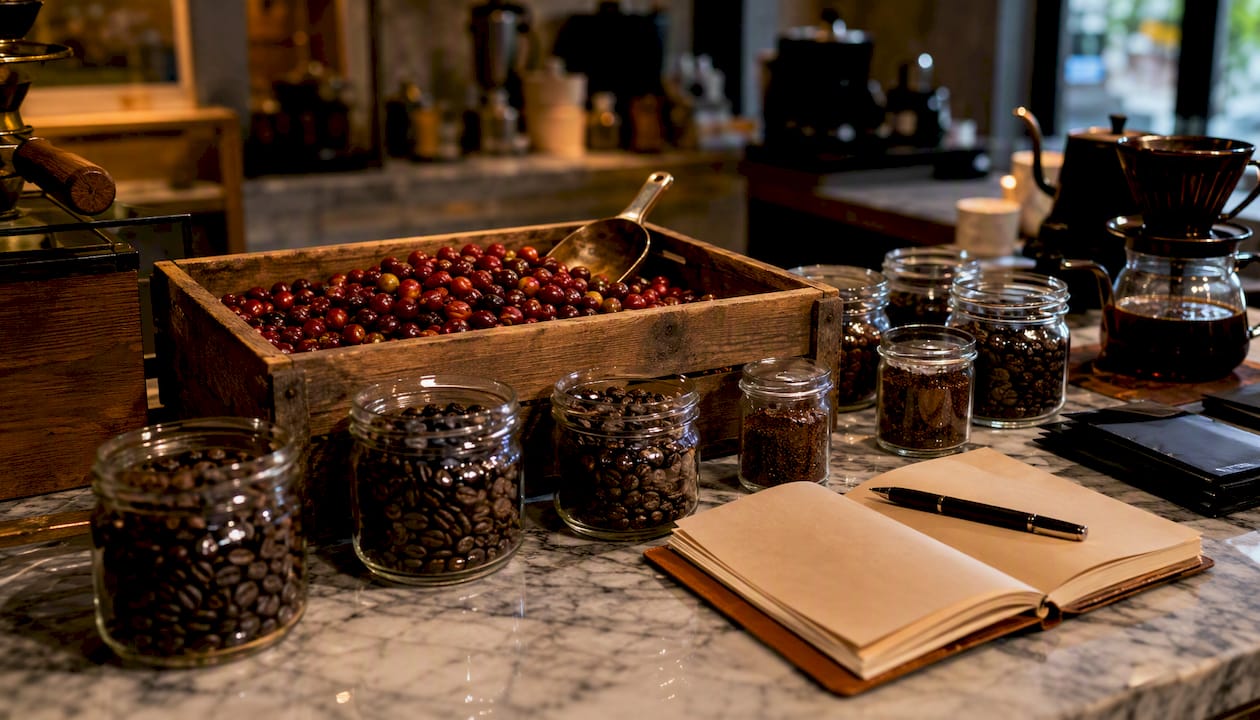
Pre-ground coffee is usable in a pinch, but buy it labeled “coarse” or “cold brew grind” if you go that route.
Pro Tip: A burr grinder produces uniform particle sizes and dramatically fewer fines than a blade grinder. Fewer fines means less sediment, less bitterness, and a cleaner cup. If you own one, use it on its coarsest setting for cold brew.
Step-by-step cold brew concentrate recipe
Starter ratios by weight
A 1:10 coffee-to-water ratio by weight is the most forgiving starting point for home brewers. A 1:8 ratio produces a stronger concentrate; 1:12 or higher yields something closer to ready-to-drink strength. TDS scales inversely with the water-to-coffee ratio, so the more water you add relative to coffee, the weaker the brew.
| Batch size | Coffee (g) at 1:10 | Water (g) at 1:10 | Coffee (g) at 1:8 |
|---|---|---|---|
| 250 mL | 25 g | 250 g | 25 g |
| 1 L | 100 g | 1,000 g | 100 g |
| 2 L | — | 1,000 g | 250 g |
The method
- Weigh your coffee and grind it extra-coarse.
- Combine coffee and cold filtered water in your vessel. Stir or swirl until no dry pockets remain. Dry pockets are the most common reason for uneven extraction, so take 30 seconds to make sure every ground is wet.
- Cover the vessel with a lid, plastic wrap, or the French press lid left up.
- Steep in the refrigerator for 12–24 hours. Aim for ~16 hours as your default.
- Strain through a mesh sieve first, then pass the liquid through a paper filter or fine cloth for a second, cleaner pass.
- Store in a sealed glass container in the refrigerator.
Fridge vs. room temperature: Room-temperature extraction runs faster than refrigerator extraction. A room-temp steep typically finishes in 8–16 hours; a fridge steep takes 12–24 hours for comparable strength. Fridge steeps tend to taste cleaner. If you want cold brew ready by morning, steep at room temperature overnight for 8–10 hours, then refrigerate.
What over- and under-extraction taste like: Over-extracted cold brew is bitter and slightly astringent. Under-extracted tastes flat, watery, or sour. Both are fixable with grind and time adjustments before your next batch.
Making cold brew ready-to-drink (skip the concentrate)
If you’d rather skip dilution entirely and pour straight from the fridge, brew at a 1:15–1:17 ratio by weight. At 1 liter, that means roughly 60–67 g of coffee to 1,000 g of water.
Quick steps:
- Use the same extra-coarse grind and the same steep time (~16 hours).
- Strain the same way.
- Pour directly over ice without adding water or milk.
Concentrate vs. ready-to-drink:
- Concentrate takes less fridge space, stays fresh longer (~10–14 days), and lets you adjust strength at serving time.
- Ready-to-drink is more convenient but uses more coffee per serving and typically keeps for only 4–7 days before flavor degrades.
For most home brewers, concentrate steeped for roughly 16 hours is the smarter default. You can always dilute more; you can’t un-dilute a weak batch.
How grind size and steep time work together
The extra-coarse grind benchmark to aim for looks like coarse sea salt or cracked black pepper, roughly 800–1,400 microns in particle size. On most home burr grinders, that’s the highest or second-highest setting.
Grind and time are not independent variables. Adjust one and you need to reconsider the other.
| Steep time | Grind recommendation | Why |
|---|---|---|
| 12–14 hours | Slightly finer coarse | Shorter contact time needs a bit more surface area |
| 16 hours (default) | Extra-coarse | Balanced extraction at the median steep |
| ~16 hours | Extra-coarse to coarsest | Prevents over-extraction during long steeps |
Extended steeps beyond 16–20 hours show diminishing returns and can introduce woody or astringent off-notes. Longer is not always better. If your 24-hour brew tastes bitter, the fix is usually a coarser grind, not a shorter steep.
Pro Tip: Run a small test batch before committing to a full liter. Use 25 g of coffee and 250 g of water, steep for your target time, taste the result, then adjust grind one step coarser or finer. Write down what you changed. Three test batches will teach you more than any guide.
How to strain and filter for a clean cup
Filtering is where most home brewers cut corners and then wonder why their cold brew tastes gritty. Two passes are almost always better than one.
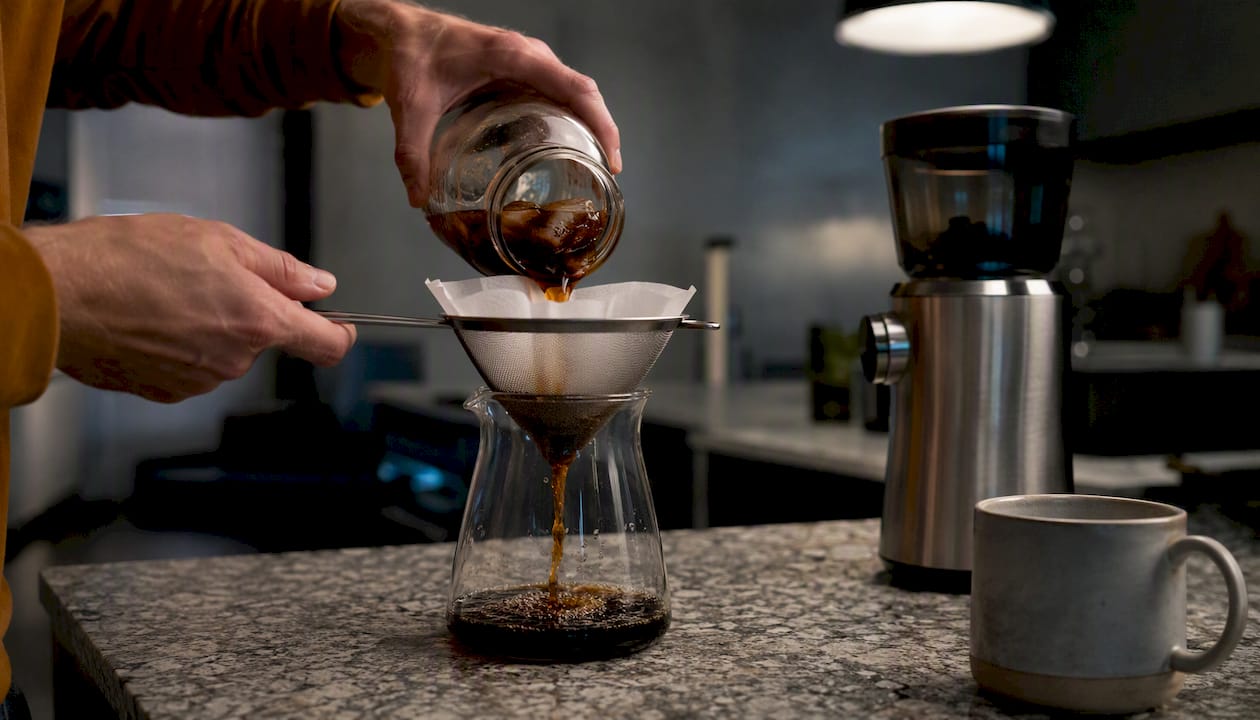
Method 1: Mason jar + sieve + paper filter Pour the steeped brew through a fine mesh sieve into a second container, then pour that liquid through a paper coffee filter (a standard basket filter works). Slow, but produces the clearest cup.
Method 2: Filter bag method Steep the grounds inside a reusable nut-milk bag or dedicated filter bag from the start. When steeping is done, lift the bag and let it drain without squeezing. A quick second pass through a paper filter removes any remaining fines.
| Method | Clarity | Speed | Equipment cost |
|---|---|---|---|
| Mesh sieve + paper filter | Excellent | Slow (10–15 min) | Minimal |
| Filter bag (no squeeze) | Very good | Fast (2–3 min) | Low |
| French press plunge + pour | Good | Fast | Already owned |
| Dedicated cold-brew maker | Very good | Fast | Moderate |
Pro Tip: Never squeeze a filter bag. Squeezing forces fine particles through the mesh and directly into your cup. Let gravity do the work. If the result still has grit, a second paper filter pass takes two minutes and solves it.
How long does cold brew keep in the fridge?
Cold brew concentrate stored in an airtight glass container keeps for about two weeks in the refrigerator. A diluted, ready-to-drink cold brew is best consumed within about one week. Flavor peaks in the first few days and gradually flattens after that.
Storage tips:
- Use airtight glass (mason jars, swing-top bottles) over plastic, which can absorb odors.
- Label the container with the date you made it.
- Discard if you notice an off smell, unusual cloudiness, or a sour fermented taste. These are signs of microbial growth, not just stale coffee.
- Keep it at the back of the fridge where temperature is most stable, not in the door.
Concentrate lasts longer than ready-to-drink because the higher coffee concentration is less hospitable to bacterial growth. That’s another practical argument for brewing concentrate by default.
Serving cold brew and easy variations
Standard serve: Pour concentrate over ice in a 1:1 ratio with cold water. Adjust from there. More water for a lighter cup; less for something closer to espresso strength.
Simple variations:
- Black over ice: Concentrate diluted 1:1 with water, no additions. Clean and direct.
- Milk-based: Replace the water with oat milk, whole milk, or your preferred alternative. Oat milk adds a natural sweetness that pairs well with medium roast cold brew.
- Sweetened: Add 1–2 teaspoons of simple syrup (equal parts sugar and water, dissolved) per 8 oz serving. Vanilla simple syrup works especially well with a dark roast.
- Coffee tonic: Pour 2 oz of concentrate over ice, then top with 4 oz of sparkling tonic water. Bright, slightly bitter, and surprisingly refreshing.
- Nitro-style texture: Shake concentrate vigorously in a sealed jar for 30 seconds before pouring. You won’t get true nitrogen bubbles, but the micro-foam gives a creamier mouthfeel.
Quick fixes for bitter, weak, or gritty cold brew
Bitter cold brew: The grind is too fine, the steep time is too long, or both. For your next batch, go one step coarser on the grinder or cut the steep by 2 hours. To rescue the current batch, dilute it further and add a splash of milk or a small amount of simple syrup to soften the edge.
Weak cold brew: Either the ratio is too dilute or the steep was too short. Try a 1:8 ratio next time, or add 2 hours to the steep. A weak batch isn’t wasted; use it as an iced coffee base with milk and ice, or reduce dilution when serving.
Gritty cold brew: You need a second filtration pass. Pour the brew through a paper coffee filter. Also check your grind: finer grinds produce more fines that pass through mesh sieves regardless of how carefully you strain.
Pro Tip: Keep a simple brewing log: date, ratio, grind setting, steep time, and a one-word tasting note. After three batches, patterns become obvious and you stop repeating the same mistakes.
Why the core rules actually work
The science behind cold brew is straightforward once you understand what controls what. Full-immersion brewing makes ratio the primary lever for strength: TDS (total dissolved solids, the measure of how much coffee material is in your cup) scales inversely with the water-to-coffee ratio. Add more water and TDS drops; reduce it and TDS climbs. That’s why weighing your ingredients matters more than eyeballing scoops.
Research note: TDS in cold brew ranges from roughly 1.19% to 3.99% depending on ratio and brewing conditions, giving you a wide range of strength to work with by simply adjusting how much coffee you use.
Temperature controls extraction rate, not just speed. Cold water extracts more selectively than hot, which is why cold brew tastes less acidic and less bitter even at high TDS. Research suggests extraction reaches equilibrium somewhere in the 7–16 hour window depending on temperature and grind size, which is why steeping beyond 20 hours rarely improves the cup and sometimes degrades it.
Key Takeaways
Cold brew made at a 1:10 ratio with an extra-coarse grind and a ~16-hour steep in the refrigerator consistently produces a smooth, low-acid concentrate that dilutes cleanly and stores well for up to two weeks.
| Point | Details |
|---|---|
| Grind extra-coarse | Target coarse sea salt texture (~800–1,400 microns) to prevent over-extraction and fines. |
| Start at 1:10 by weight | Use 100 g coffee per 1,000 g water as your default concentrate ratio. |
| Steep ~16 hours | The median optimal window; beyond 20 hours, off-flavors can develop with diminishing returns. |
| Filter twice | A second pass through a paper filter removes fines and produces a clear, grit-free cup. |
| Tri Crow Coffee options | The Dark French Roast and Medium Roast cold brew blends are coarse-ground and ready to steep. |
Cold brew is a ritual worth getting right
Most guides treat cold brew as a convenience hack. Steep overnight, pour in the morning, done. That framing misses something. The deliberate pace of cold extraction, the ~16-hour wait, the two-pass filtering, is closer to a practice than a shortcut. You’re choosing a slower method because it produces something a fast method can’t.
What I find underappreciated is how much the bean choice shapes the final cup at cold temperatures. Hot brewing masks a lot of a bean’s character behind heat and volatility. Cold brew strips that away. A medium roast with genuine chocolate and floral notes will taste like exactly that in the cup. A flat, generic dark roast will taste flat and generic, no matter how carefully you steep it.
Tri Crow Coffee’s small-batch approach matters here more than it might for drip coffee. When the roast is fresh and the grind is calibrated for cold extraction, the difference shows up directly in the glass. The Dark French Roast produces a bold, low-acid concentrate that holds up well with milk. The Medium Roast is where the chocolate and floral notes come through cleanest, especially black over ice. Start with one, keep a simple log, and adjust from there.
Tri Crow Coffee makes cold brew simpler to start
Cold brew rewards good ingredients more than almost any other method, and the biggest variable most home brewers overlook is the grind. Tri Crow Coffee’s cold brew dark roast is already coarse-ground and calibrated for immersion brewing, so you skip the guesswork on grind size entirely. The medium roast option delivers the chocolate and floral notes that cold water extracts best, and it’s equally ready to steep straight from the bag.
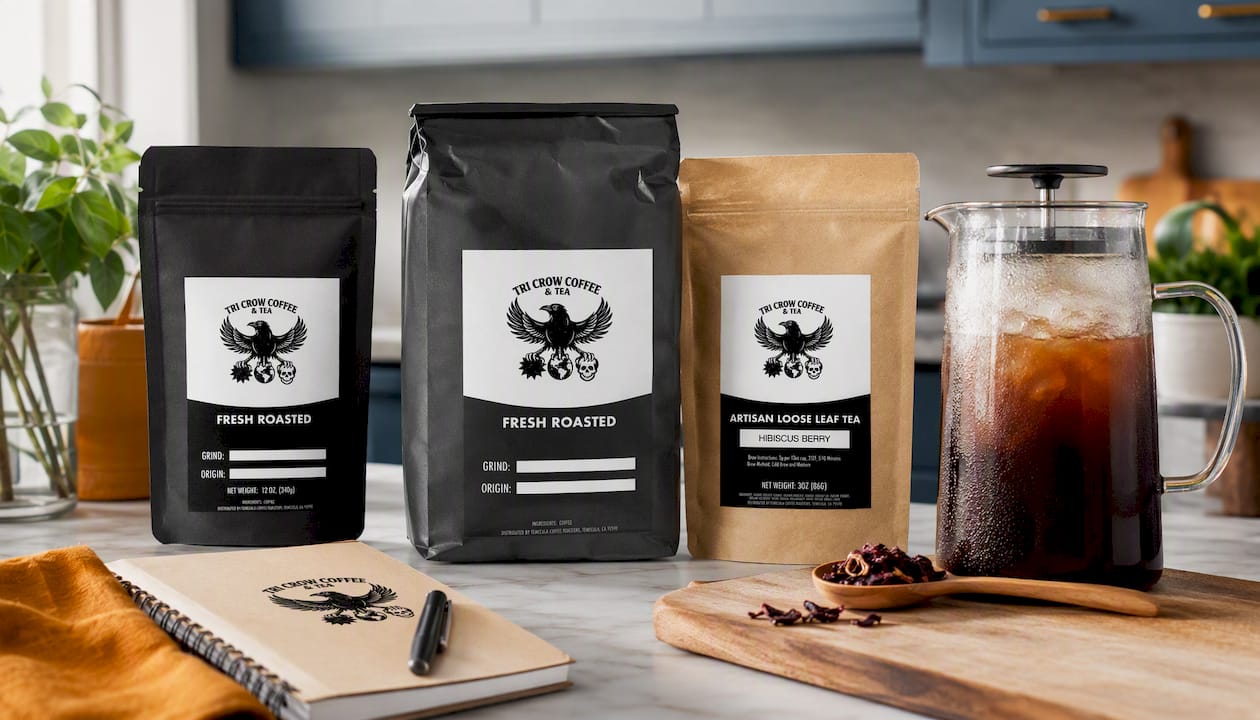
If you want to branch out beyond coffee, the Sweet Hibiscus Berry Tea is labeled cold-brew friendly and steeps beautifully in cold water overnight. Same method, same patience, completely different flavor profile. All three are small-batch, eco-packaged, and available directly through the Tri Crow Coffee shop. Pick the roast that fits your taste and steep your first batch tonight.
Disclosure: Tri Crow Coffee produces and sells all three products mentioned above.
FAQ
How do you make cold brew coffee for beginners?
Combine 100 g of coarsely ground coffee with 1,000 g of cold water in a mason jar, stir to saturate, cover, and refrigerate for roughly 16 hours. Strain through a sieve and paper filter, then dilute 1:1 with water or milk before serving.
What is the best coffee-to-water ratio for cold brew?
A 1:10 ratio by weight (100 g coffee per 1,000 g water) is the most forgiving starting point for a concentrate. For a stronger brew, use 1:8; for ready-to-drink strength without dilution, use 1:15–1:17.
How long should cold brew steep in the fridge?
Aim for roughly 16 hours as your default; steeping beyond 20 hours rarely adds strength and can introduce woody or astringent off-notes.
Why does my cold brew taste bitter?
Bitterness usually means the grind is too fine or the steep time is too long. Go one step coarser on your grinder, or reduce steep time by 2 hours on your next batch.
How long does cold brew last in the refrigerator?
Concentrate stored in an airtight glass container keeps for roughly 10–14 days. A diluted, ready-to-drink cold brew is best within 4–7 days.