
You can roast coffee at home with nothing more than a $25 air popcorn popper, a bag of green beans, and a window cracked open. The roasting process generally takes several minutes of active roasting, plus some time to preheat and cool. Home roasting can save you a significant amount per pound compared to buying specialty roasted coffee, and the cup you brew three days later is noticeably brighter and fresher than anything off a shelf.
Here is what you need to know right away before diving deeper:
- Equipment options: air popcorn popper (best starter), stovetop pan, oven, or a purpose-built home roaster
- Roasting stages: preheat, drying (green to yellow), first crack, development phase, optional second crack, then immediate cooling
- Safety essentials: real ventilation is non-negotiable; a recirculating range hood is not enough; open a window or roast outdoors
- Timing: most batches run 8–15 minutes of active roasting, with 3–5 minutes to preheat and 4–5 minutes to cool. The total process from setup to ready-to-rest beans typically takes 15–25 minutes.
- Rest your beans: wait at least 3–4 days after roasting before brewing; flavor stabilizes significantly in that window
That is the whole framework. Everything below fills in the details.
What equipment do you actually need for home coffee roasting?
The roaster is the only piece of gear you truly need to buy. Everything else you likely already own.
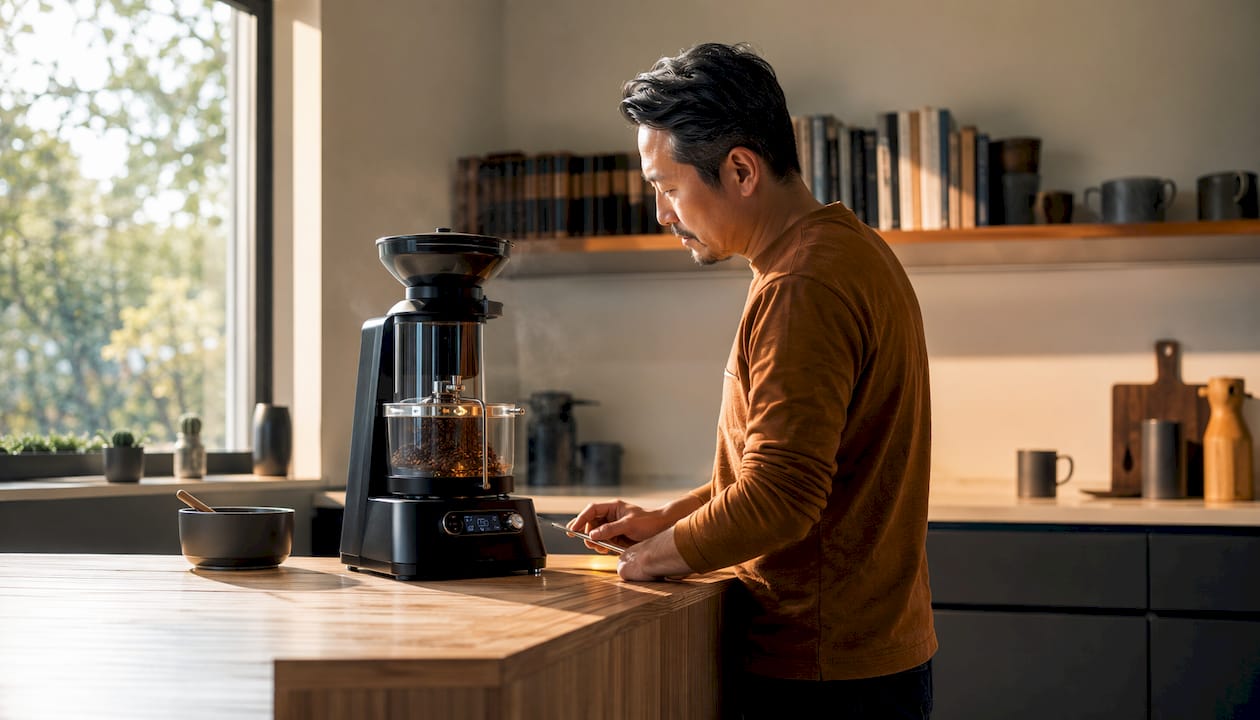
An air popcorn popper with side vents (not bottom vents) is a common entry point for home roasting. It roasts small batches in a few minutes, produces reasonably even results, and is inexpensive. The forced hot air keeps beans in constant motion, which prevents scorching. The downsides are real: small batch sizes, limited temperature control, and a heating element not designed for repeated high-heat sessions. Still, it teaches you every fundamental before you spend more.
Stovetop pan and oven methods
A heavy cast-iron skillet over medium-high heat works if you stir constantly. Results are uneven, it gets smoky fast, and you cannot hear first crack clearly over the sizzle. The oven method (spread beans on a perforated baking sheet at 450–475°F, stir every 2–3 minutes) has similar problems: poor air circulation, hard to hear cracks, and difficult smoke management. Both methods are free if you already own the gear, but a $25 popcorn popper beats both on consistency.
Purpose-built home roasters
Dedicated home roasters come in two main types: fluid-bed (hot air) and drum. Fluid-bed models roast quickly and let you watch the beans change color in real time. Drum roasters rotate beans inside a heated chamber, which gives more even heat distribution and usually more control over temperature and timing. Purpose-built roasters also tend to have built-in chaff collectors and, on some models, smoke suppression, which matters a lot for indoor use.
Accessories worth having
- Kitchen scale (0.1g precision): weigh green beans going in and roasted beans coming out; weight loss percentage is one of your most reliable roast indicators
- Timer: a simple kitchen timer works; you are tracking minutes, not seconds
- Metal colander: for rapid cooling immediately after roasting
- Infrared thermometer: useful if your roaster has no built-in temperature readout
- Airtight storage containers or one-way valve bags: freshly roasted coffee vents CO2 for days and needs somewhere for that gas to escape without letting oxygen in
Green bean storage before roasting: green coffee is far more stable than roasted. Stored in a cool, dry place away from light, green beans keep well for a year or more. No special containers needed, just avoid humidity and heat.
How to roast coffee at home: the step-by-step process
This walkthrough uses a popcorn popper, but the stages and timing apply to any method.
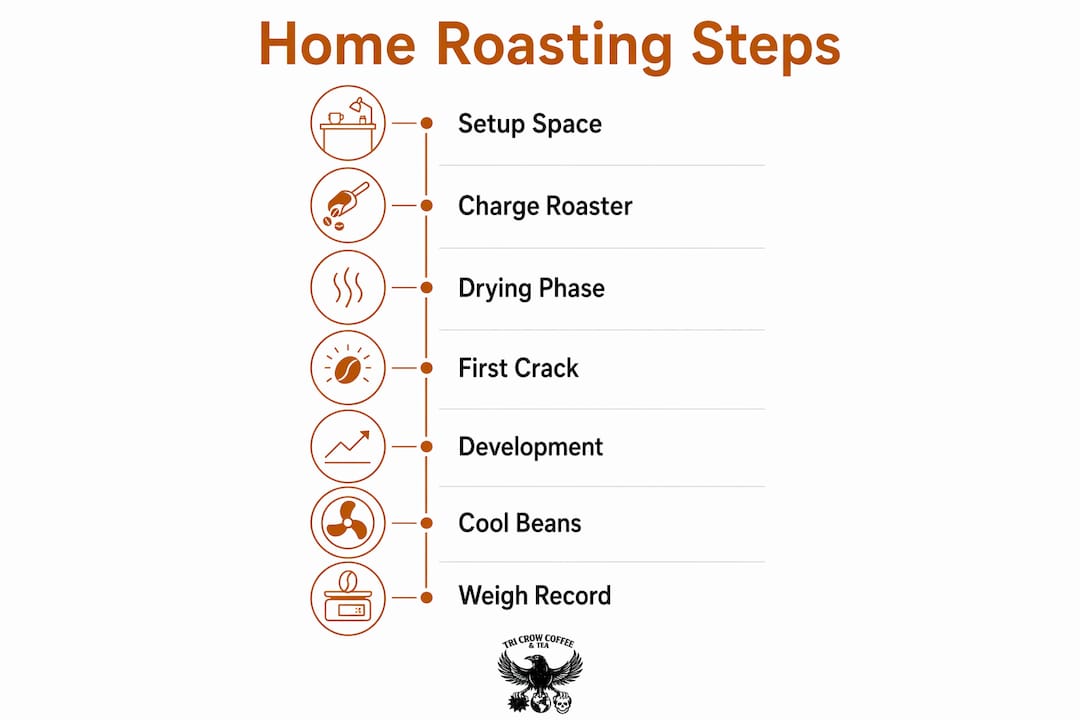
Step 1: Set up your space and preheat
Position yourself near an open window, under a range hood that vents outside, or outdoors. Roasting produces smoke, especially past first crack, and chaff (the thin papery skin on beans) will fly around with air-based methods. Preheat your popper for about 30 seconds before adding beans.
Step 2: Charge the roaster
Add a small batch of green coffee beans appropriate for your equipment. Too few beans may not absorb enough heat, while too many may cause uneven roasting due to poor circulation.
Step 3: Watch the drying phase (minutes 1–4)
Beans go from green to yellow during this stage. The smell shifts from grassy to something like warm bread or toasted grain. Moisture is evaporating, and the beans expand slightly. Keep them moving. If they stall in a popper, reduce the quantity slightly.
Step 4: Listen for first crack (minutes 5–7)
First crack begins at a temperature around 200°C, and emits distinct popping sounds, similar to popcorn. This is the most important moment in the roast. The bean’s internal moisture flashes to steam and fractures the structure, signaling the start of the development phase.
Step 5: Navigate the development phase
What you do after first crack determines the flavor of your cup. Here is a practical reference:
| Roast Level | When to Stop | Surface Look | Flavor Character |
|---|---|---|---|
| Light | At or just after first crack ends | Matte, tan to light brown, no oil | Bright, fruity, high acidity |
| Medium | Shortly after first crack ends | Medium brown, matte or slight sheen | Balanced, caramel, chocolate |
| Dark | Into second crack range | Shiny with visible oil, deep brown | Smoky, bittersweet, low acidity |
Stopping too early produces sour, underdeveloped beans; pushing past second crack sacrifices the bean’s origin character entirely for roast character.
Step 6: Cool immediately
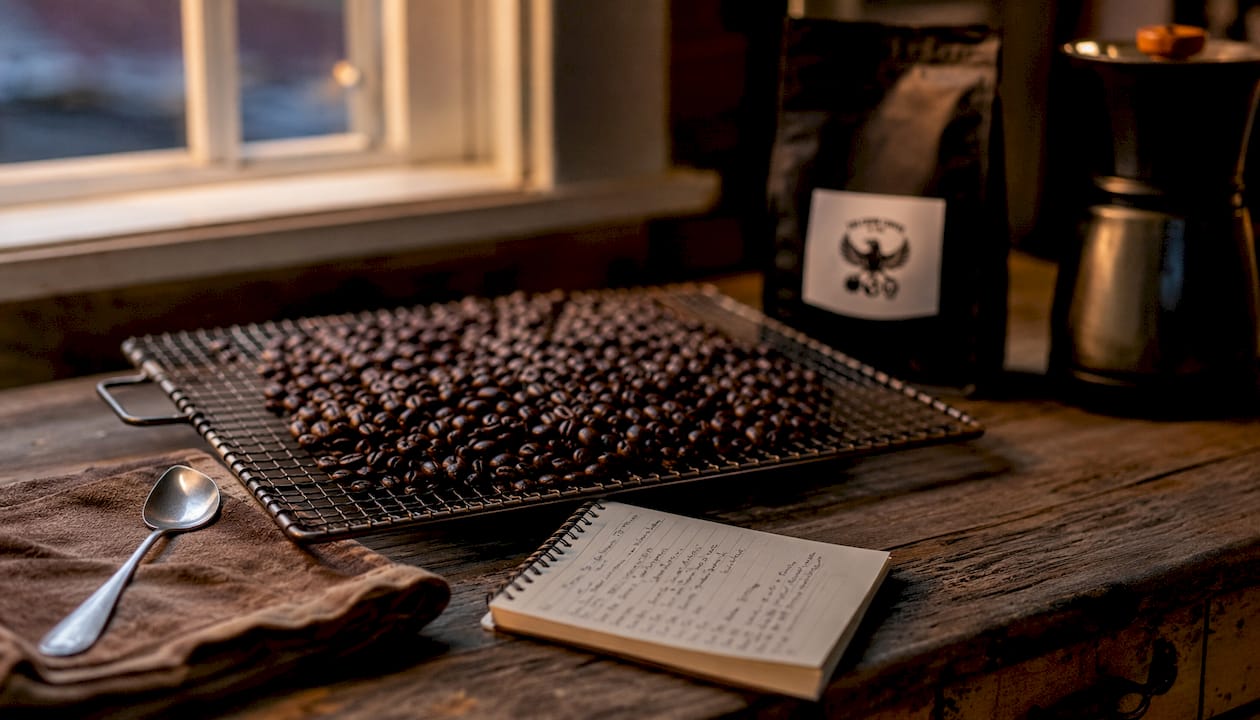
The moment you hit your target, dump the beans into a metal colander and shake or fan them actively. Cooling within about 2 minutes halts further roasting and locks in the flavor profile you worked toward. Beans sitting in a hot ceramic bowl keep developing. Metal colander, active airflow, two minutes.
Step 7: Weigh and record
Weigh your roasted beans and compare to the starting weight. Weight loss percentage is a useful indicator of roast development level. This number is more reliable than eyeballing color, especially early on.
Tips for better roasts and common mistakes to avoid
Most beginners roast too dark and too fast. The instinct is to push the beans until they look like the coffee you buy at a café, but that is usually a medium-dark at minimum. Pull lighter than you think you want on your first few batches, then taste after resting.
Common mistakes and fixes:
- Too much heat too fast: scorches the bean surface while the interior stays underdeveloped. The result looks right but tastes papery or ashy. Use moderate, steady heat rather than maximum from the start.
- Not cooling fast enough: beans in a hot vessel keep roasting. If you aimed for medium and used a ceramic bowl, you may end up with medium-dark. Always use a metal colander with holes.
- Brewing too soon: freshly roasted beans are saturated with CO2, which physically interferes with water contacting the grounds. The cup tastes sharp, hollow, or just off. Wait the full 3–4 days.
- Ignoring weight loss: color alone is a poor roast indicator, especially when you are new. Track the weight loss percentage batch to batch.
- Walking away: a runaway roast goes from thick smoke to scorched beans to, in the worst case, flames. Coffee oils can ignite at temperatures starting around 240°C / 464°F, which is only about 15 degrees past second crack. Stay within arm’s reach the entire time.
Ventilation and chaff management: a recirculating kitchen hood is barely adequate and will trigger most smoke alarms within minutes. An open garage with a box fan pointing out, a porch, or a window with a fan actively moving air outside are all better options. Chaff is combustible; clean up your roasting area between batches and empty chaff collectors regularly.
Pro Tip: When you sense first crack approaching, reduce heat slightly if your equipment allows it. Entering first crack with a controlled, moderate rate of rise produces better flavor than a violent, rapid crack. On a popcorn popper, you can briefly tilt the unit to slow things down.
What actually happens to flavor during roasting
The development phase, starting at first crack, is where flavor complexity is actively built. Before first crack, the roast is essentially preparation: moisture leaves, the Maillard reaction creates hundreds of new aromatic compounds, and the bean structure softens. After first crack, acids transform, sugars caramelize, and CO2 generation accelerates. The flavor of the final cup is largely determined by how long you hold the beans in this window.
A Development Time Ratio (DTR) below 15% of total roast time tends to produce underdeveloped coffee: sour, grassy, and thin. The 18–25% band is where most specialty coffee lives. You do not need to calculate DTR on your first batches, but understanding that the time after first crack is your most direct flavor lever helps you make better decisions in the moment.
Smoke and safety deserve equal attention here. Proper ventilation is a critical safety requirement, not just a comfort measure. Carbon monoxide is a real risk in enclosed spaces, particularly with gas-powered setups. Chaff accumulation near a heating element is a fire hazard. These are not remote possibilities; they are the reason experienced home roasters treat ventilation as the first thing they set up, not an afterthought.
How to grind your freshly roasted coffee for any brew method
Grind size is the variable that connects your roast to your brew. A coffee ground too fine for its brew method over-extracts and tastes bitter; too coarse and it under-extracts, tasting weak and sour. Roast level also affects how you grind: lighter roasts are denser and need a finer grind and hotter water to develop their full sweetness, while darker roasts are more porous and extract faster, wanting a coarser grind and slightly cooler water.
A practical reference for matching grind to method:
| Brew Method | Grind Size | Notes |
|---|---|---|
| Espresso | Extra fine (like powdered sugar) | Tightest tolerance; small changes matter |
| Moka pot | Fine | Similar to espresso but slightly coarser |
| Pour over (V60, Chemex) | Medium-fine to medium | Adjust by roast level; lighter = finer |
| Drip machine | Medium | Consistent and forgiving |
| AeroPress | Medium to medium-fine | Versatile; experiment freely |
| French press | Coarse | Prevents sediment in the cup |
| Cold brew | Extra coarse | Long steep time compensates |
A burr grinder produces a more consistent particle size than a blade grinder, which matters most for espresso and pour over. For French press and cold brew, a blade grinder is workable. The coffee grinding guide from Tri Crow Coffee covers grind settings in more detail if you want to go deeper on technique.
Beginner roasting profiles to try on your first batches
A roast profile is simply a plan: how much heat, for how long, targeting which roast level. You do not need software or data loggers to follow one. These three profiles work on a popcorn popper or any entry-level home roaster.
Profile 1: Classic medium roast (best first batch)
- Green beans: 80–90 grams of a washed Ethiopian or Colombian single origin
- Target: medium roast, balanced and approachable
- Process: preheat 30 seconds, add beans, maintain steady heat. Expect yellowing at 3–4 minutes, first crack at 5–7 minutes. Continue 60–90 seconds after first crack ends. Pull and cool immediately.
- Weight loss target: 14–16%
- Rest: 3–4 days minimum before brewing
Profile 2: Light roast for bright, fruity cups
- Green beans: 80 grams of a washed Ethiopian Yirgacheffe or Kenyan AA
- Target: light roast, high acidity, floral and citrus notes
- Process: same preheat. Pull the beans at or just after first crack ends, before any second crack. Total roast time around 7–8 minutes.
- Weight loss target: 11–13%
- Rest: 4–5 days; light roasts benefit from a slightly longer rest
Profile 3: Dark roast for bold, smoky character
- Green beans: 90–100 grams of a Brazilian natural or Sumatra
- Target: dark roast, low acidity, heavy body
- Process: same preheat. Push past the end of first crack toward the start of second crack (listen for faster, sharper crackling). Pull immediately at the first sounds of second crack unless you want very dark. Total roast time around 10–12 minutes.
- Weight loss target: 17–18%
- Rest: 3–4 days; dark roasts off-gas heavily
After each batch, note the time to first crack, the development time, and how the cup tastes after resting. Three to five batches of the same bean with small adjustments teaches you more than reading about roasting ever will.
How to choose green coffee beans for home roasting
Green bean quality sets the ceiling on your roast. No amount of careful technique rescues a low-quality or stale green bean.
Arabica vs. Robusta
Arabica beans are the standard for home roasting and specialty coffee. They have more complex flavor, higher acidity, and a wider range of origin character. Robusta has more caffeine and a harsher, more bitter profile; it is rarely used in home roasting except in blends targeting espresso body. Start with Arabica.
Origins and what they taste like
Coffee origin shapes flavor more than almost any other variable. A few reliable starting points:
- Ethiopia (washed): floral, citrus, tea-like; excellent for light roasts
- Colombia: balanced, mild acidity, caramel and nut notes; forgiving for beginners
- Brazil (natural): low acidity, chocolate and nut, heavy body; good for dark roasts
- Guatemala: medium body, chocolate and brown sugar; versatile across roast levels
- Sumatra (wet-hulled): earthy, herbal, full body; classic for dark roasts
What to look for in green beans
Buy from a reputable green bean supplier that lists the harvest date. Green coffee older than 18 months past harvest loses moisture and roasts unevenly, with muted crack sounds and flat flavor. Look for beans described as “current crop” or with a specific harvest year listed. Density and moisture content vary by origin and altitude; high-grown, dense beans (like Kenyan AA or Ethiopian Yirgacheffe) often crack at slightly higher temperatures and reward careful heat management.
Processing method also matters. Washed (wet-processed) beans tend to be cleaner and brighter. Natural (dry-processed) beans carry more fruit character and sweetness but can have a softer, less distinct first crack. Honey-processed beans fall between the two.
Key Takeaways
Home roasting produces fresher, better-tasting coffee at a fraction of the cost, but the development phase after first crack is where flavor is actually made or lost.
Key points:
- Starting with an air popcorn popper is an affordable entry point.
- Listening for first and second cracks signals roast progression.
- Rapid cooling after roasting preserves flavor.
- Resting beans a few days after roasting improves extraction.
- Proper ventilation is essential for safety during roasting.
FAQ
How long does a home roast take from start to finish?
Most home roasting sessions last between 8 and 15 minutes of active roasting, plus 3–5 minutes for preheating and 4–5 minutes for cooling. The total process from start to finish is typically 15–25 minutes.
What is first crack and why does it matter?
First crack is the audible popping sound that occurs when the bean’s internal moisture flashes to steam at approximately 395–405°F, fracturing the bean structure. It marks the start of the development phase and the earliest point at which a coffee is brewable.
Can you roast coffee in a regular oven?
You can, but results are inconsistent. Spread beans in a single layer on a perforated baking sheet at 450–475°F and stir every 2–3 minutes. The main problems are poor air circulation, difficulty hearing first crack, and challenging smoke management.
How long should you rest beans before brewing?
Wait at least 3–4 days after roasting. Freshly roasted beans contain CO2 that interferes with even extraction. Allowing beans to rest a few days post-roast improves flavor stability.
Does home roasting save money?
Yes. Green coffee is generally less expensive than specialty roasted coffee. Accounting for weight loss during roasting, home roasting can save a substantial amount per pound.
Try Tri Crow Coffee while you build your roasting skills
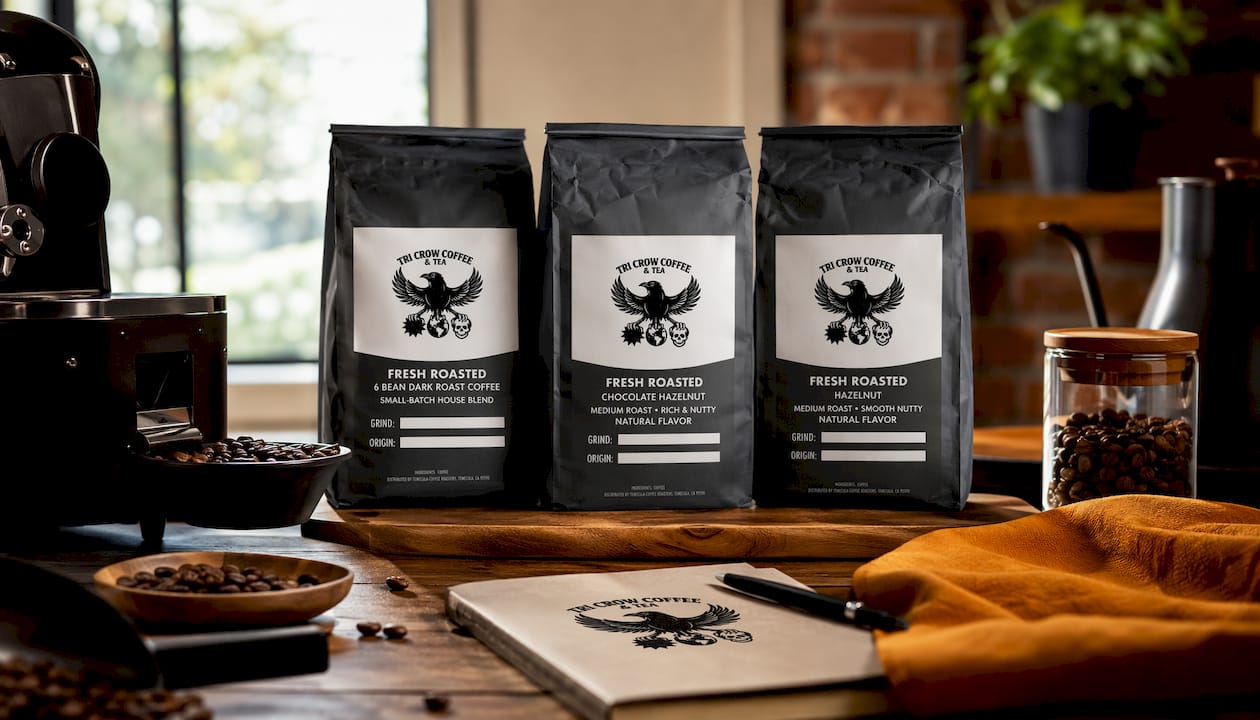
Learning to roast takes a few batches to click. While you work through your first rounds of green beans, Tri Crow Coffee’s small-batch roasts give you a reliable reference point for what well-developed coffee actually tastes like. The 6 Bean Dark Roast is a house blend roasted in limited batches for bold, consistent character. If you prefer something in the medium range, the Chocolate Hazelnut medium roast and the Hazelnut medium roast both show what a well-timed development phase produces in terms of sweetness and body. Tasting a reference roast alongside your own batches is one of the fastest ways to calibrate your palate and sharpen your technique.